This article explores 14 Brilliant Basement Lighting Ideas for a Bright Lower Level with comfort, flow, and details that look intentional you can apply without overthinking the process.
Use the ideas in order and stop after each one to reassess the overall balance. Inhabitle helps you turn a house into a warm, welcoming home, one intentional detail at a time. For “14 Brilliant Basement Lighting Ideas for a Bright Lower Level”, start by setting the layout and spacing rules first.
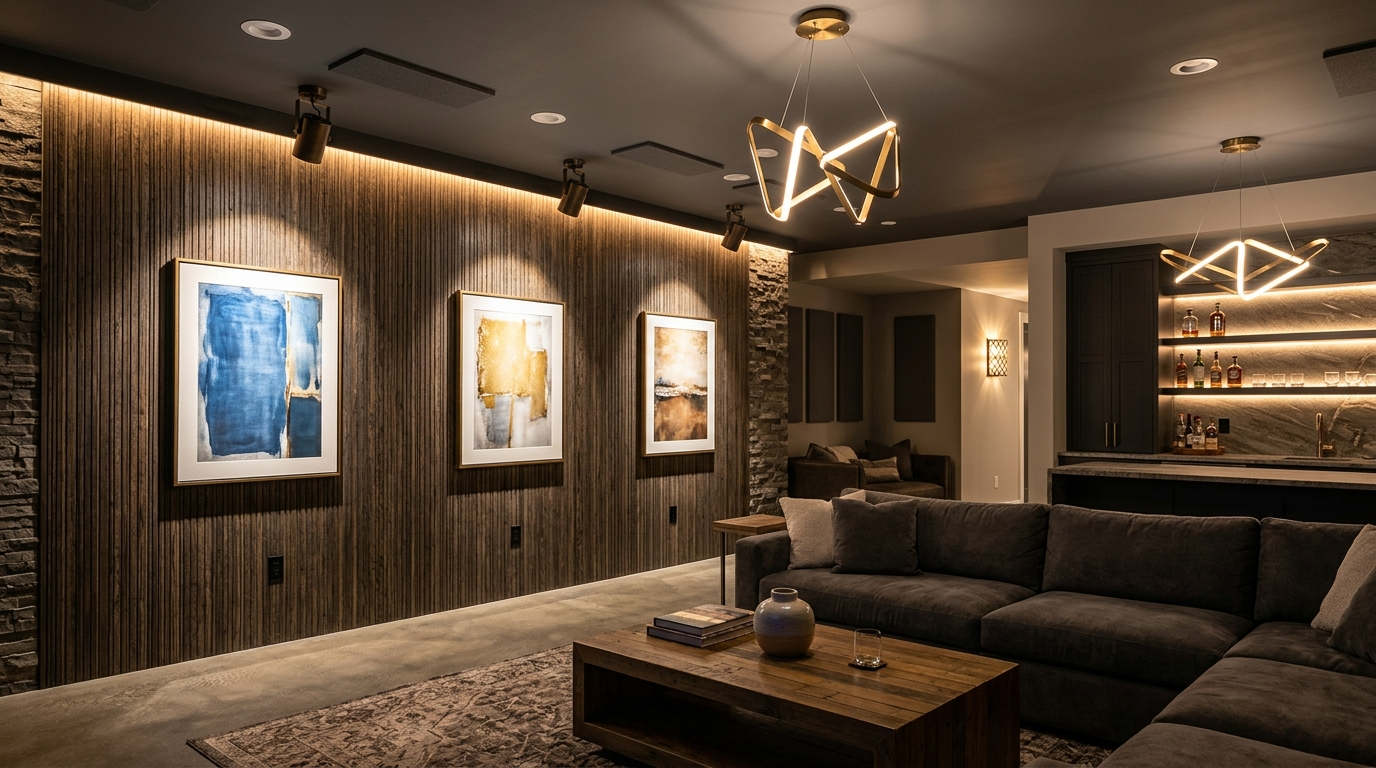
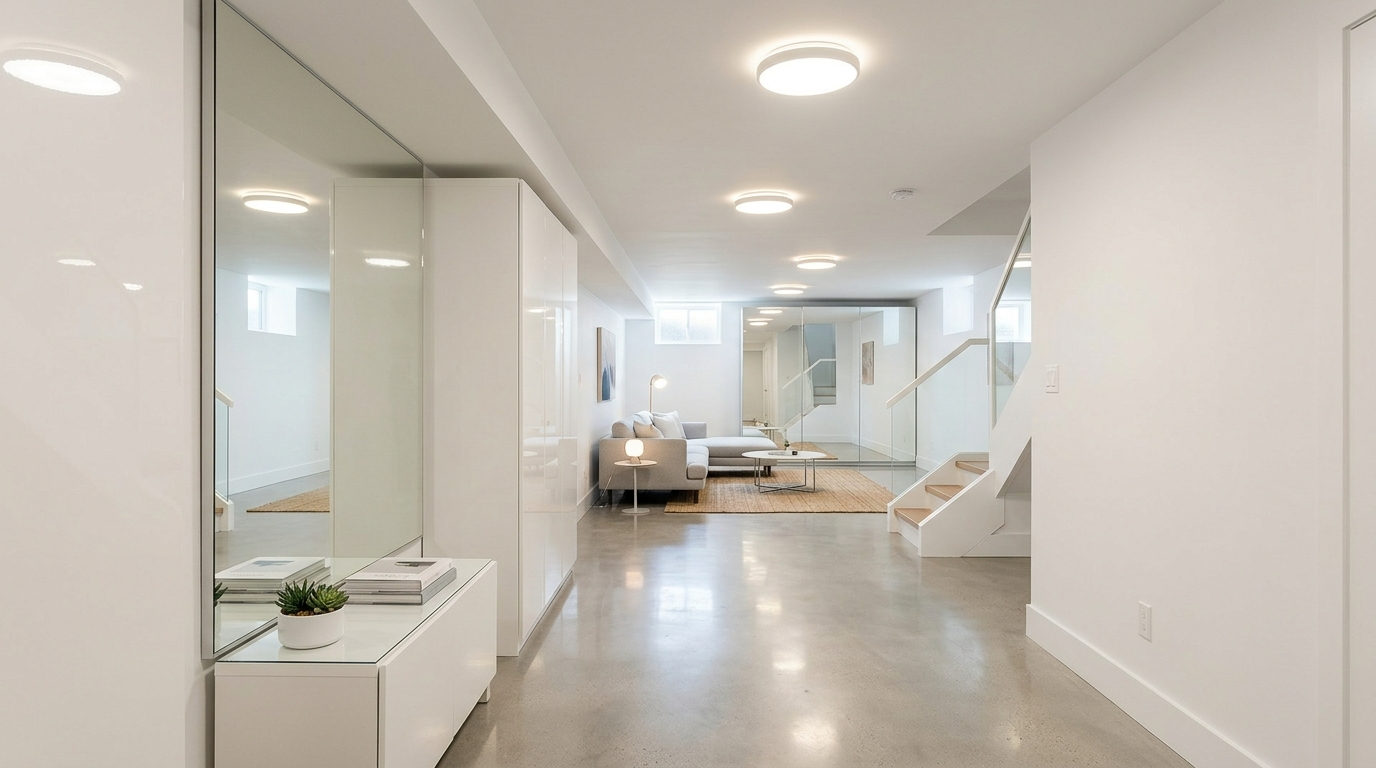
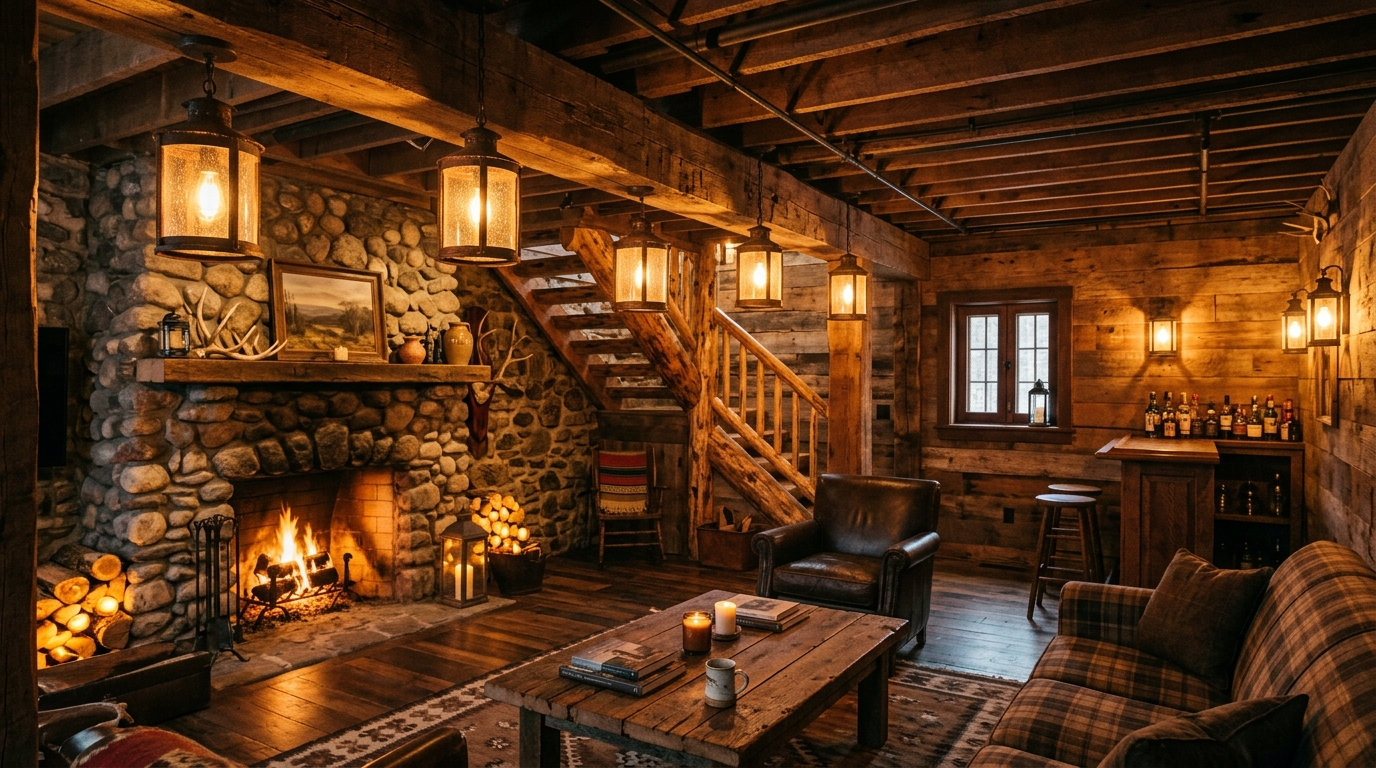
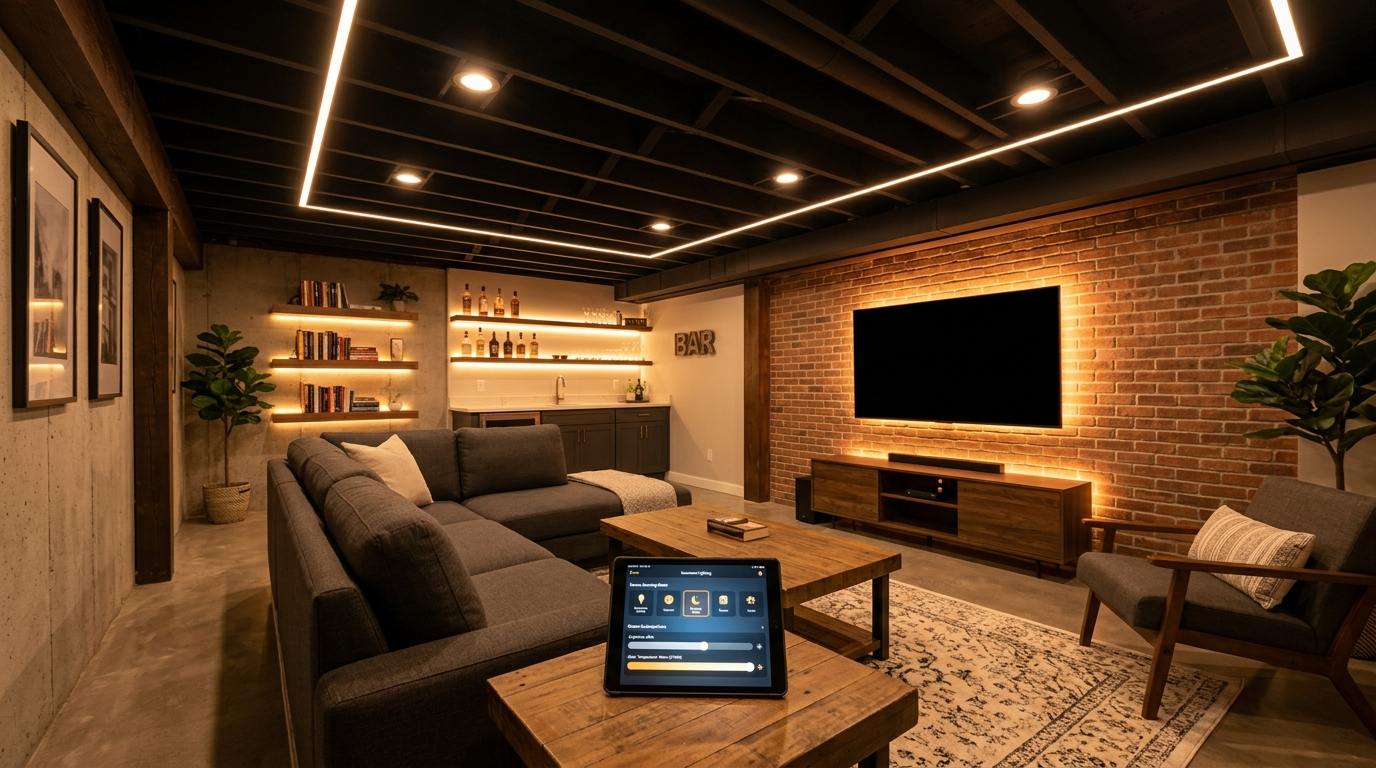
Start with a layered lighting plan, not a single ceiling light
(1/14) “Start with a layered lighting plan, not a single ceiling light”: focus on scale and placement before you pick finishes. Treat this as a quick win: a small change that makes daily use noticeably easier. Use lighting layers so the room doesn’t feel flat at night.
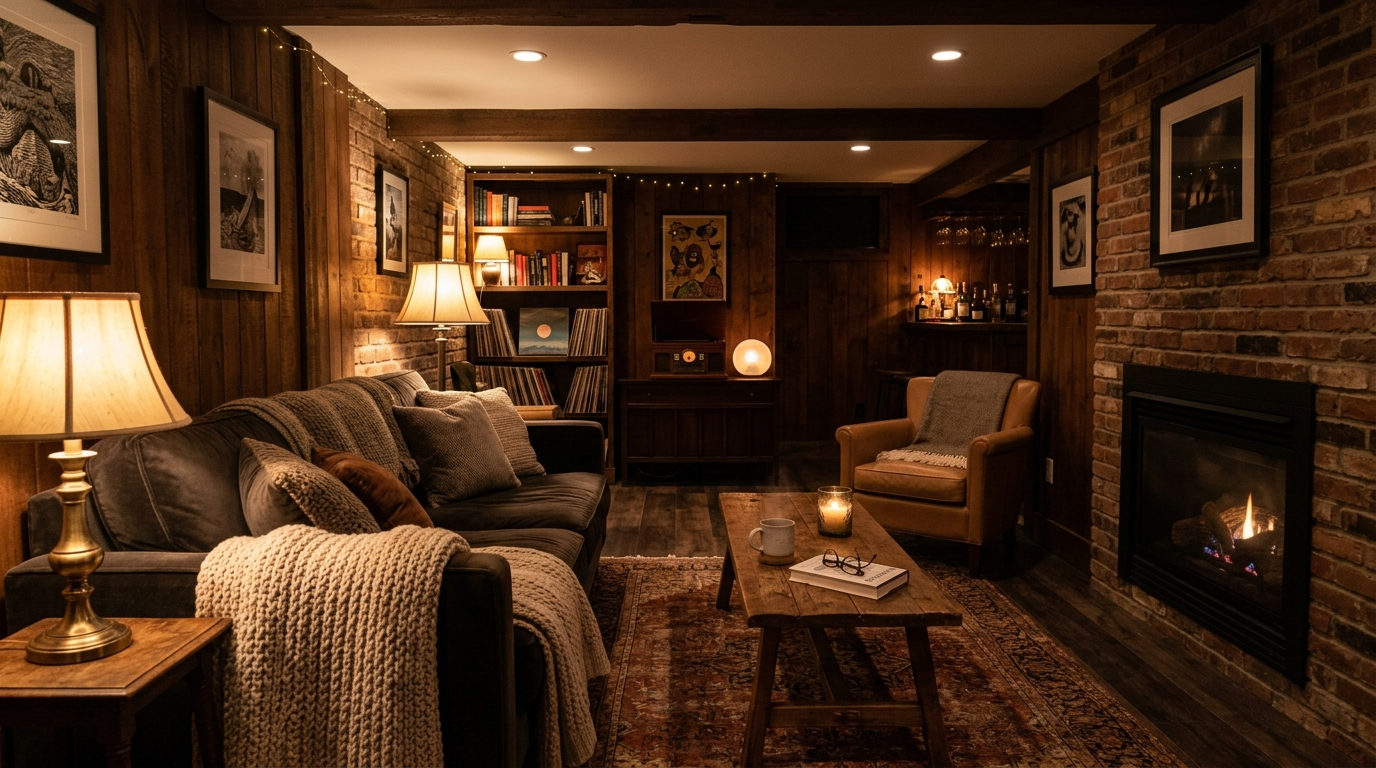
Use warm bulbs to avoid a harsh, cold basement feel
(2/14) “Use warm bulbs to avoid a harsh, cold basement feel”: focus on scale and placement before you pick finishes. Treat this as a quick win: a small change that makes daily use noticeably easier. Use lighting layers so the room doesn’t feel flat at night.
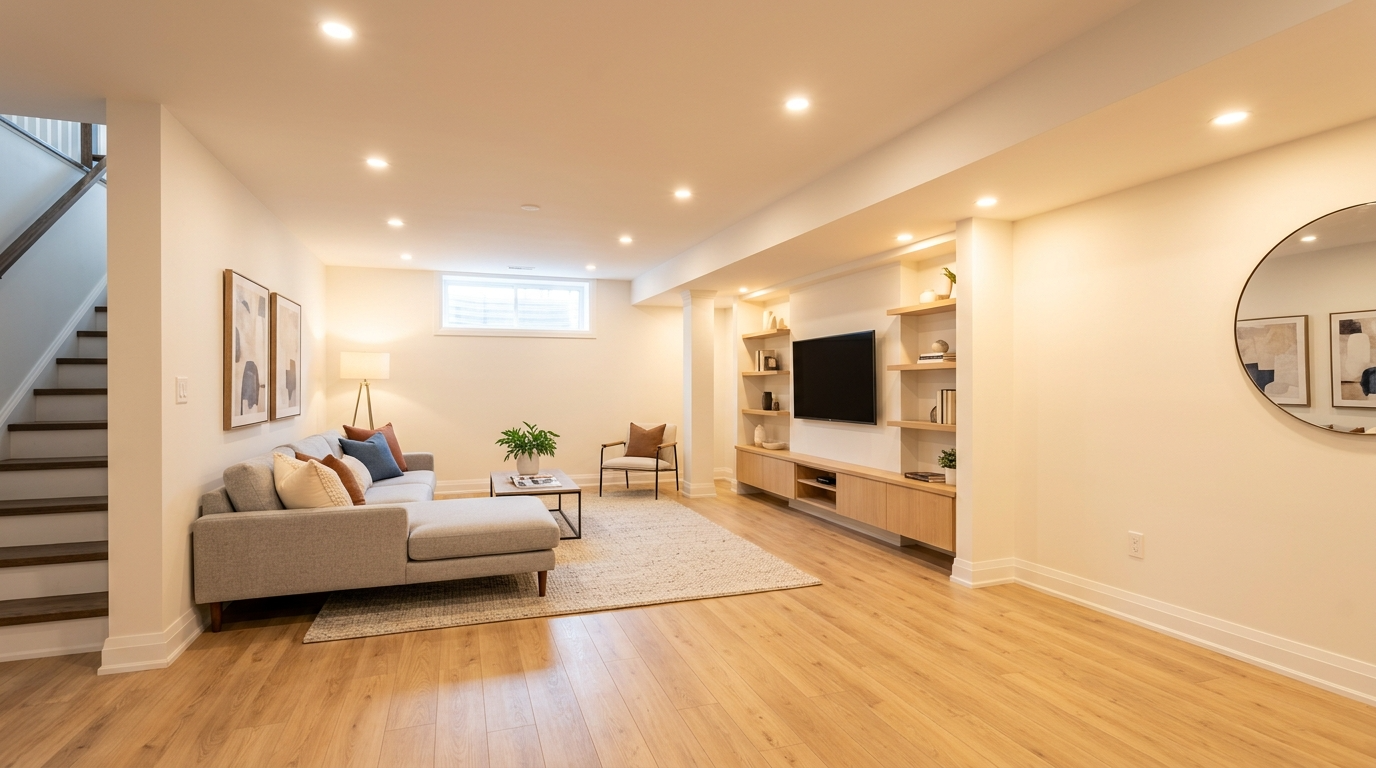
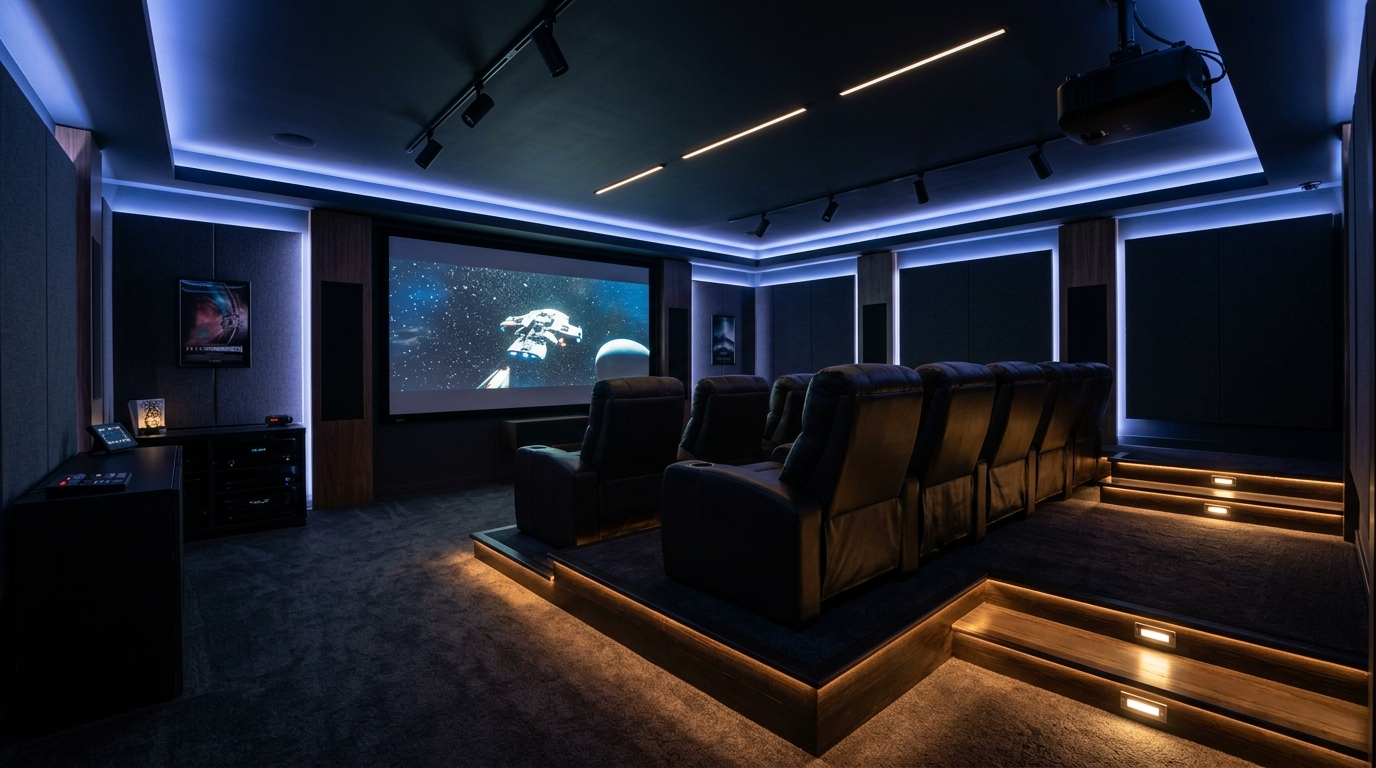
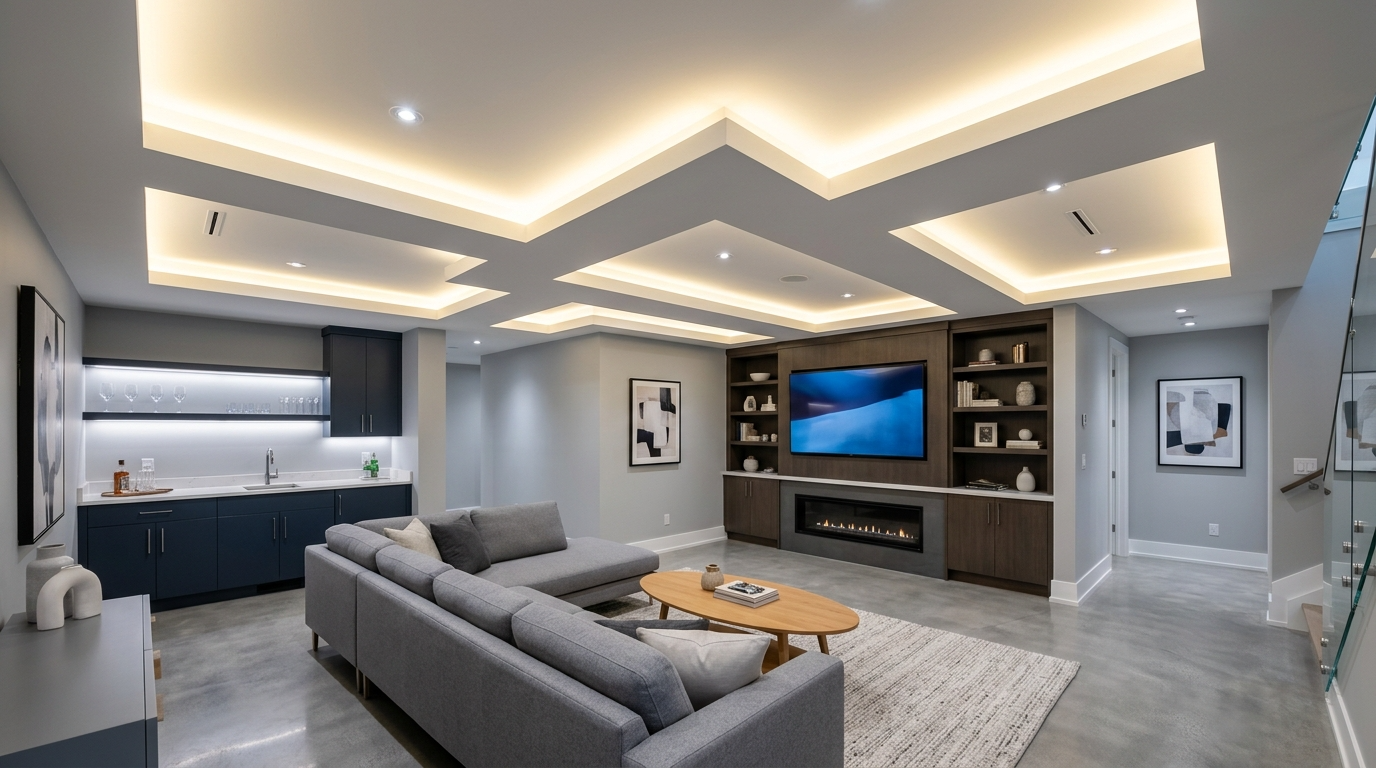
Add recessed lighting for clean, even coverage
(3/14) “Add recessed lighting for clean, even coverage”: focus on scale and placement before you pick finishes. Treat this as a quick win: a small change that makes daily use noticeably easier. Use lighting layers so the room doesn’t feel flat at night.
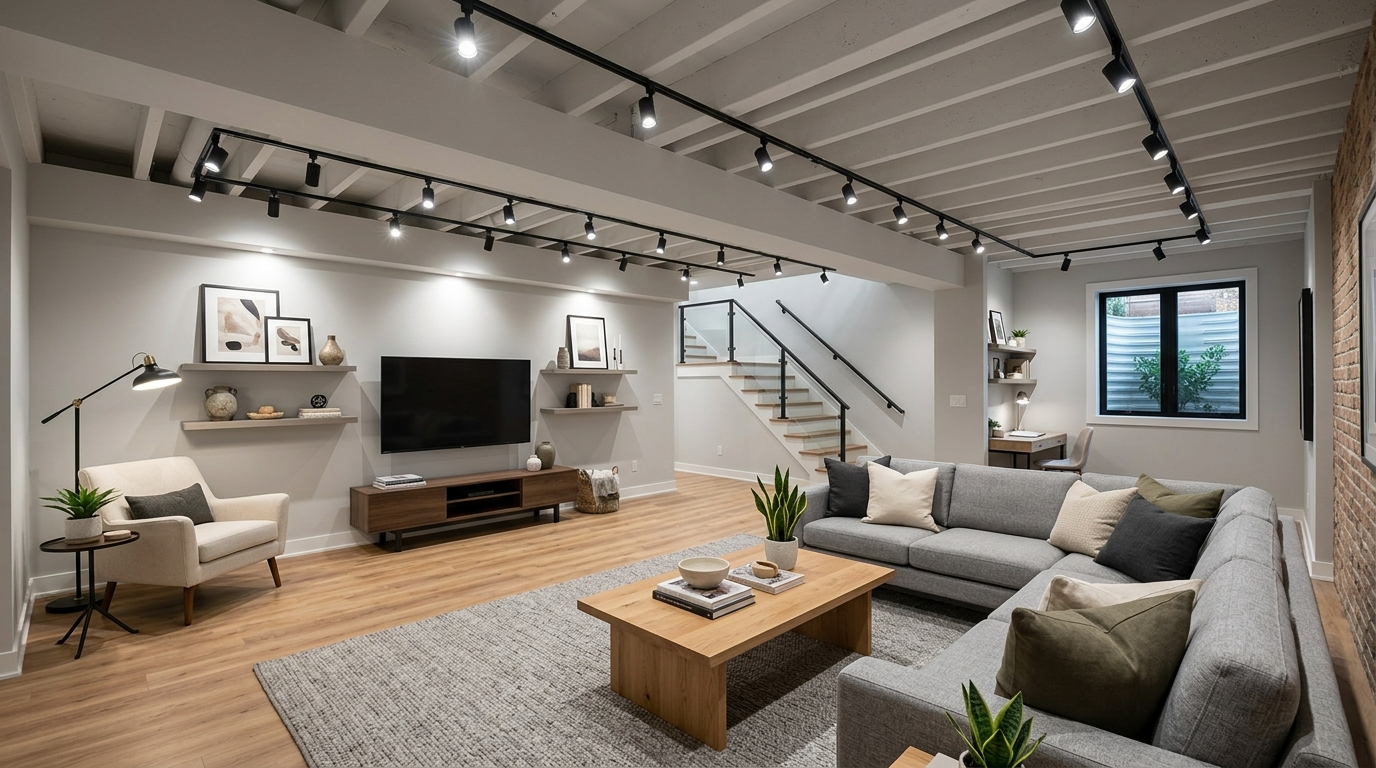
Use wall sconces to brighten vertical surfaces
(4/14) “Use wall sconces to brighten vertical surfaces”: keep the goal simple-improve function first, then let the look follow. Pick a focal point and let the supporting pieces stay quieter. Aim for fewer competing elements: one hero choice, then supportive basics.
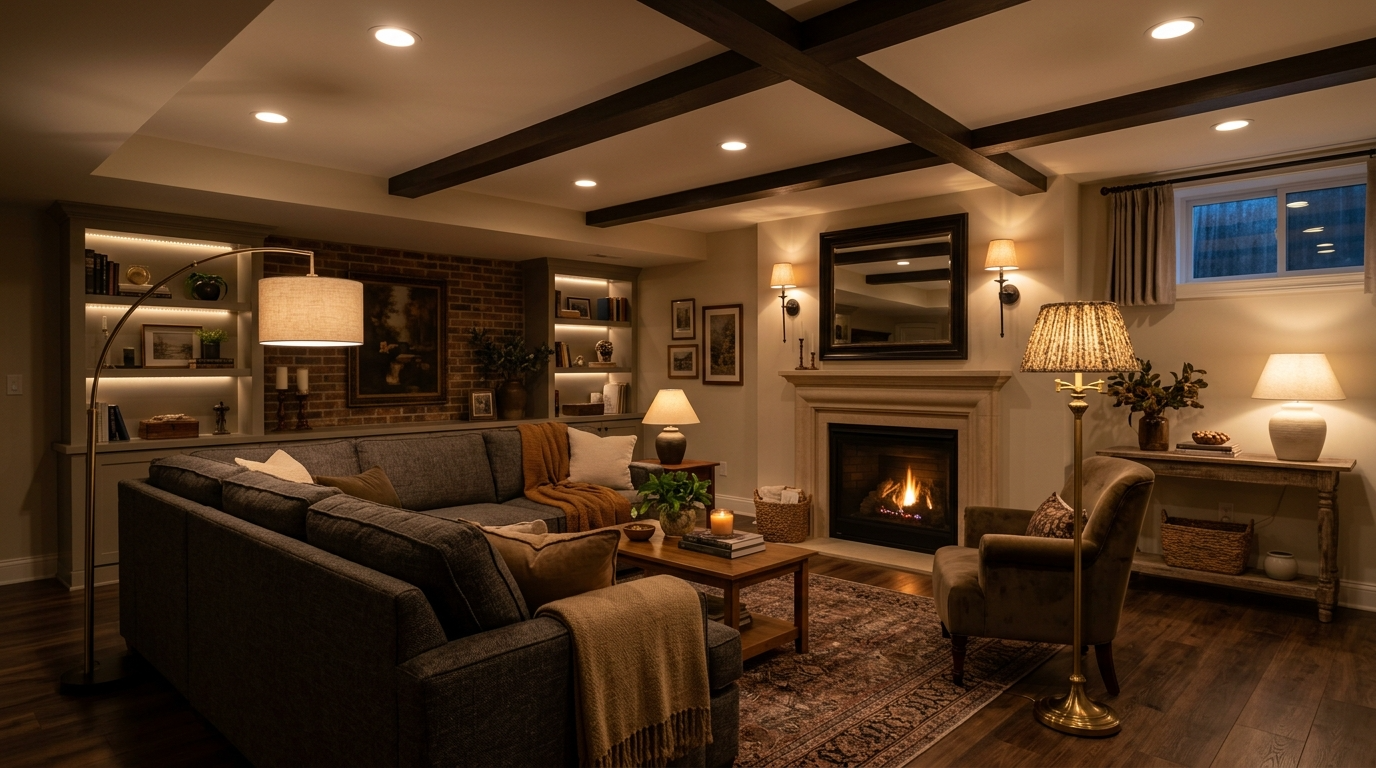
Add floor lamps in seating zones to create cozy pockets
(5/14) “Add floor lamps in seating zones to create cozy pockets”: start with the smallest version of the change first, then scale up. Choose one “repeatable” finish and use it in 2-3 spots. Start with the constraint you feel most (space, light, or budget), then adjust one variable at a time.
Use under shelf or under cabinet lighting to eliminate dark corners
(6/14) “Use under shelf or under cabinet lighting to eliminate dark corners”: keep the goal simple-improve function first, then let the look follow. Pick a focal point and let the supporting pieces stay quieter. Aim for fewer competing elements: one hero choice, then supportive basics.
Install dimmers so the space can shift from bright to cozy
(7/14) “Install dimmers so the space can shift from bright to cozy”: decide what the space needs to do first, then style around that priority. Make one decision “the rule” for this area, then repeat it so the room reads as intentional. Reduce visual noise by hiding the smallest clutter first.
Create a bright pathway lighting plan for stairs and hallways
(8/14) “Create a bright pathway lighting plan for stairs and hallways”: start with the smallest version of the change first, then scale up. Choose one “repeatable” finish and use it in 2-3 spots. Start with the constraint you feel most (space, light, or budget), then adjust one variable at a time.
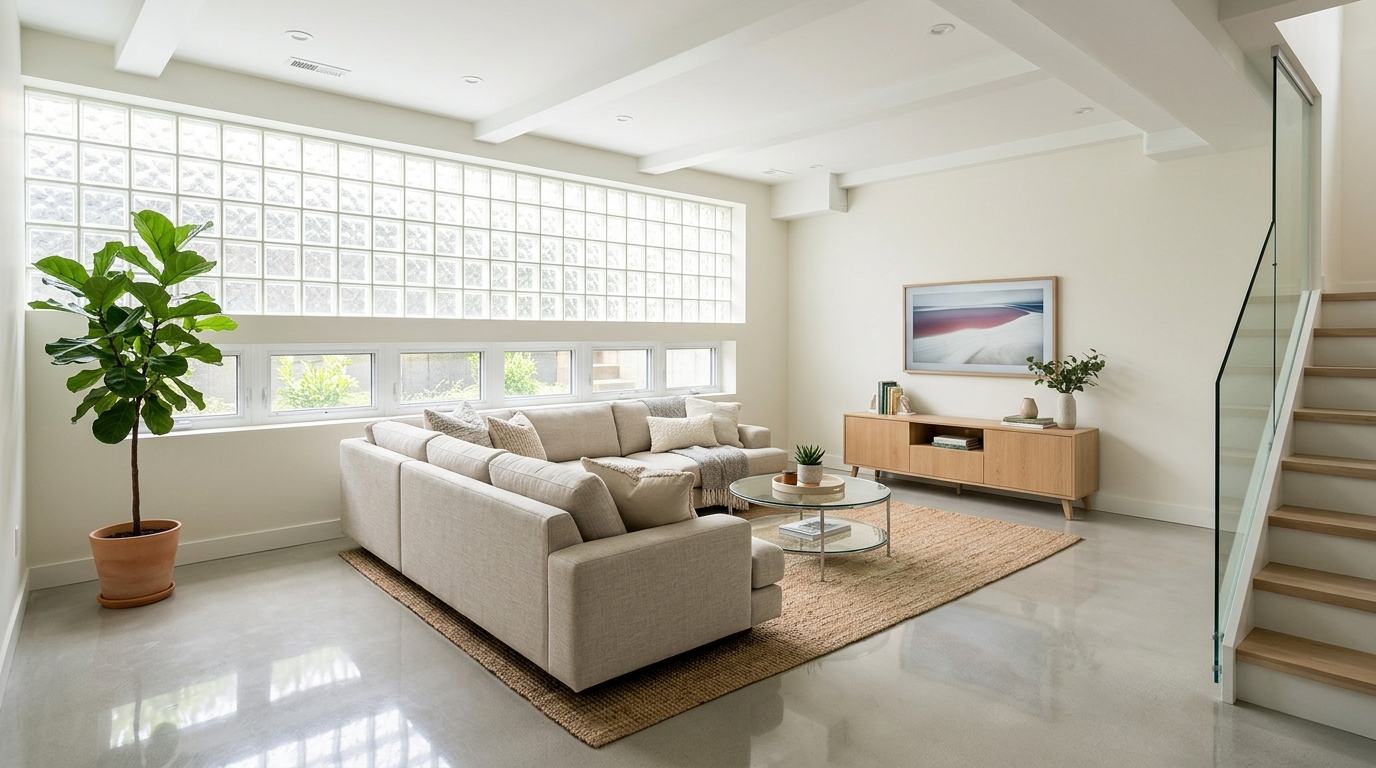
Use reflective surfaces to bounce light further
(9/14) “Use reflective surfaces to bounce light further”: decide what the space needs to do first, then style around that priority. Make one decision “the rule” for this area, then repeat it so the room reads as intentional. Reduce visual noise by hiding the smallest clutter first.
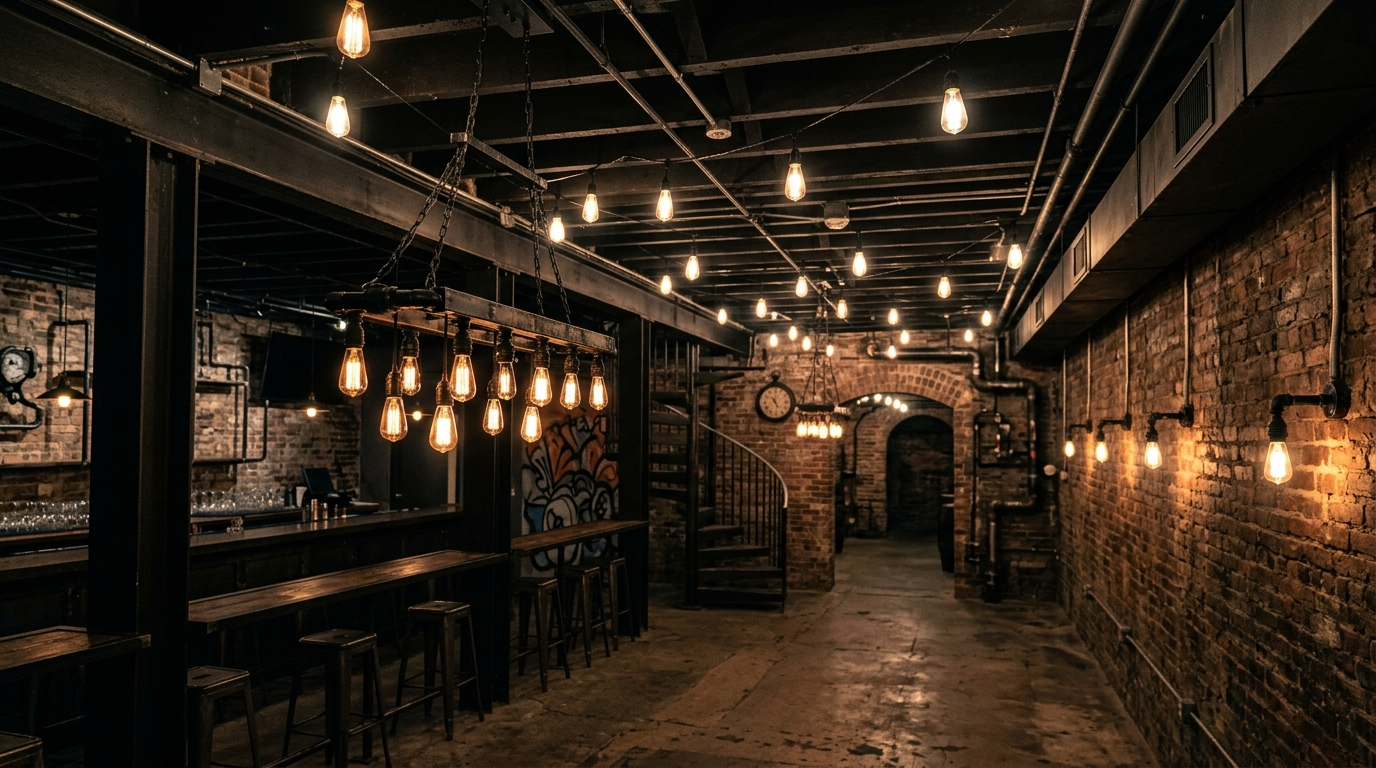
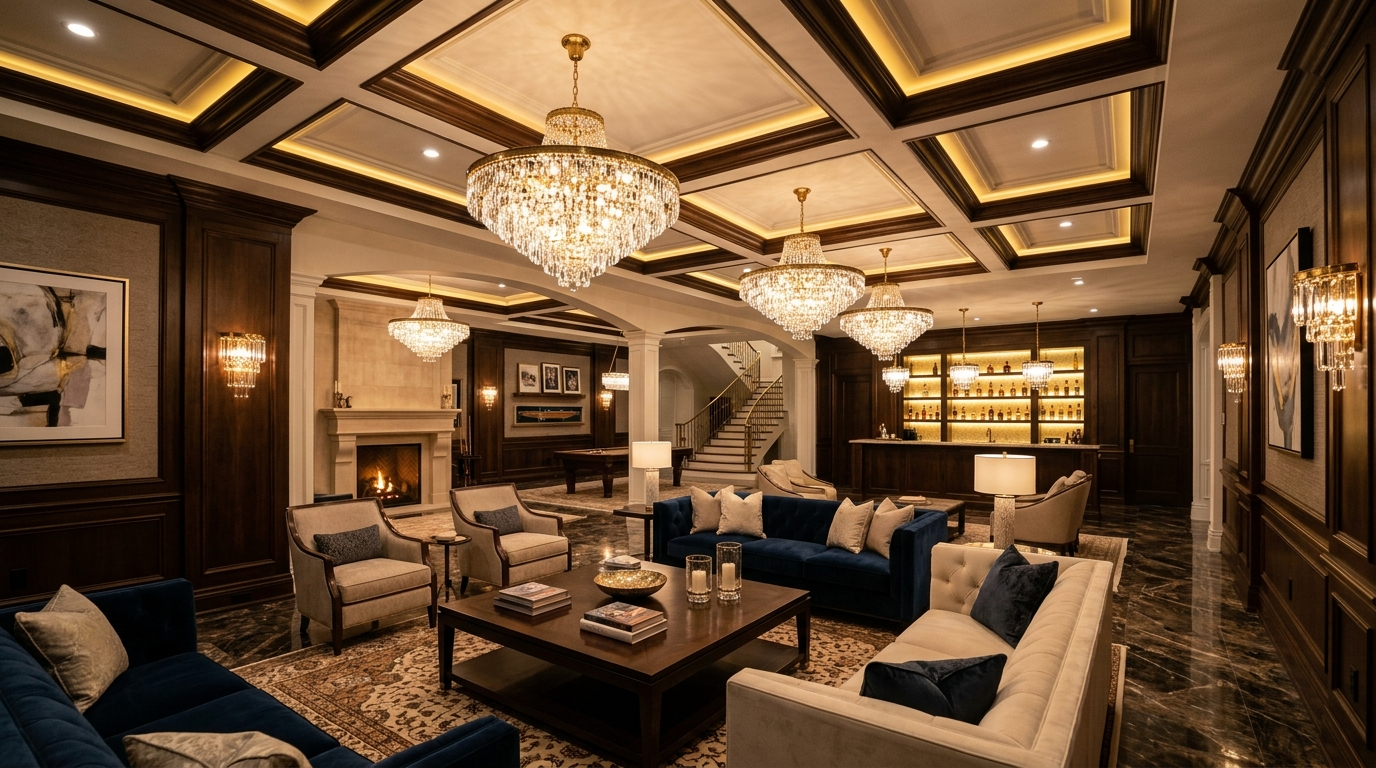
Add a statement fixture in one key zone for style
(10/14) “Add a statement fixture in one key zone for style”: start with the smallest version of the change first, then scale up. Choose one “repeatable” finish and use it in 2-3 spots. Start with the constraint you feel most (space, light, or budget), then adjust one variable at a time.

Use task lighting for desks, hobbies, and game tables
(11/14) “Use task lighting for desks, hobbies, and game tables”: start with the smallest version of the change first, then scale up. Choose one “repeatable” finish and use it in 2-3 spots. Start with the constraint you feel most (space, light, or budget), then adjust one variable at a time.
Highlight architectural features to create depth
(12/14) “Highlight architectural features to create depth”: keep the goal simple-improve function first, then let the look follow. Pick a focal point and let the supporting pieces stay quieter. Aim for fewer competing elements: one hero choice, then supportive basics.
Use smart bulbs to fine tune color and schedule
(13/14) “Use smart bulbs to fine tune color and schedule”: focus on scale and placement before you pick finishes. Treat this as a quick win: a small change that makes daily use noticeably easier. Use lighting layers so the room doesn’t feel flat at night.
Finish by checking shadows at night, then adjust placement
(14/14) “Finish by checking shadows at night, then adjust placement”: decide what the space needs to do first, then style around that priority. Make one decision “the rule” for this area, then repeat it so the room reads as intentional. Reduce visual noise by hiding the smallest clutter first.