In this post, you will find 11 Clever DIY Wine Rack Projects for Wine Lovers on a Budget with function-first moves that still feel elevated you can apply without overthinking the process.
Treat each section like a small experiment: change one thing, then look at the room again. At inhabitle, we focus on practical moves that make your home feel welcoming, cohesive, and easy to live in. For “11 Clever DIY Wine Rack Projects for Wine Lovers on a Budget”, start by fixing lighting and scale before you buy anything new.
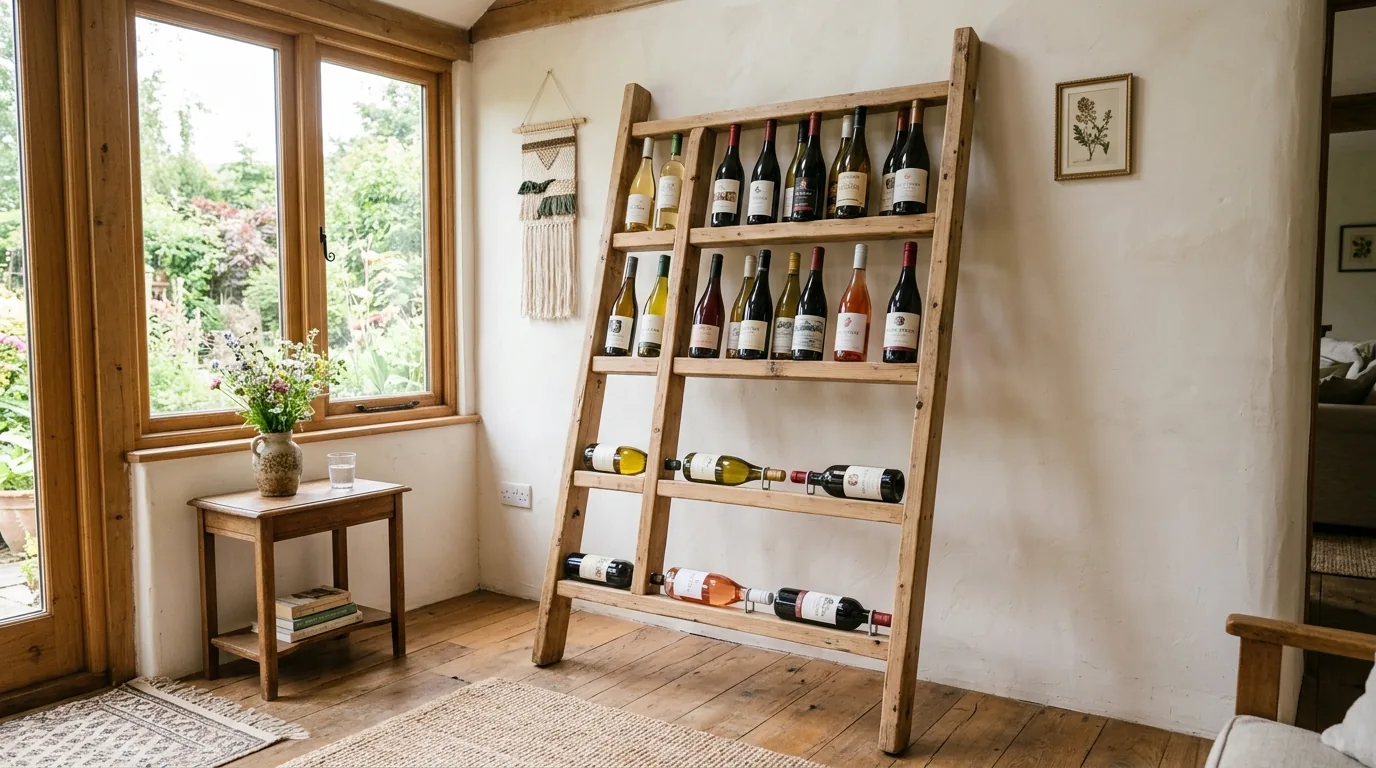
Start with a simple plan and accurate measurements
(1/11) “Start with a simple plan and accurate measurements”: start with the smallest version of the change first, then scale up. Store bottles on their side in a stable, shaded spot. Start with the constraint you feel most (space, light, or budget), then adjust one variable at a time.
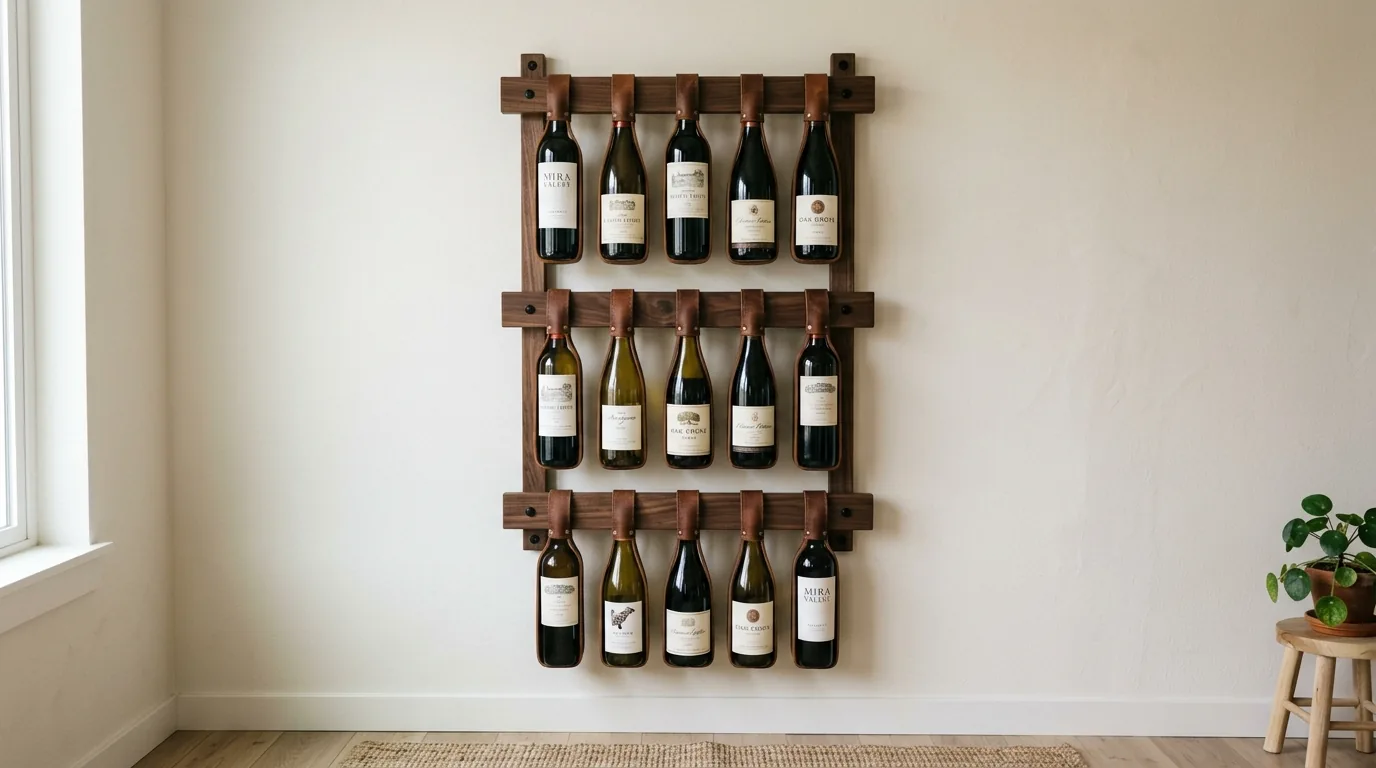
Choose a project style that fits your space
(2/11) “Choose a project style that fits your space”: focus on scale and placement before you pick finishes. Treat this as a quick win: a small change that makes daily use noticeably easier. Avoid wobble-anchor racks to a stud if the load is heavy.
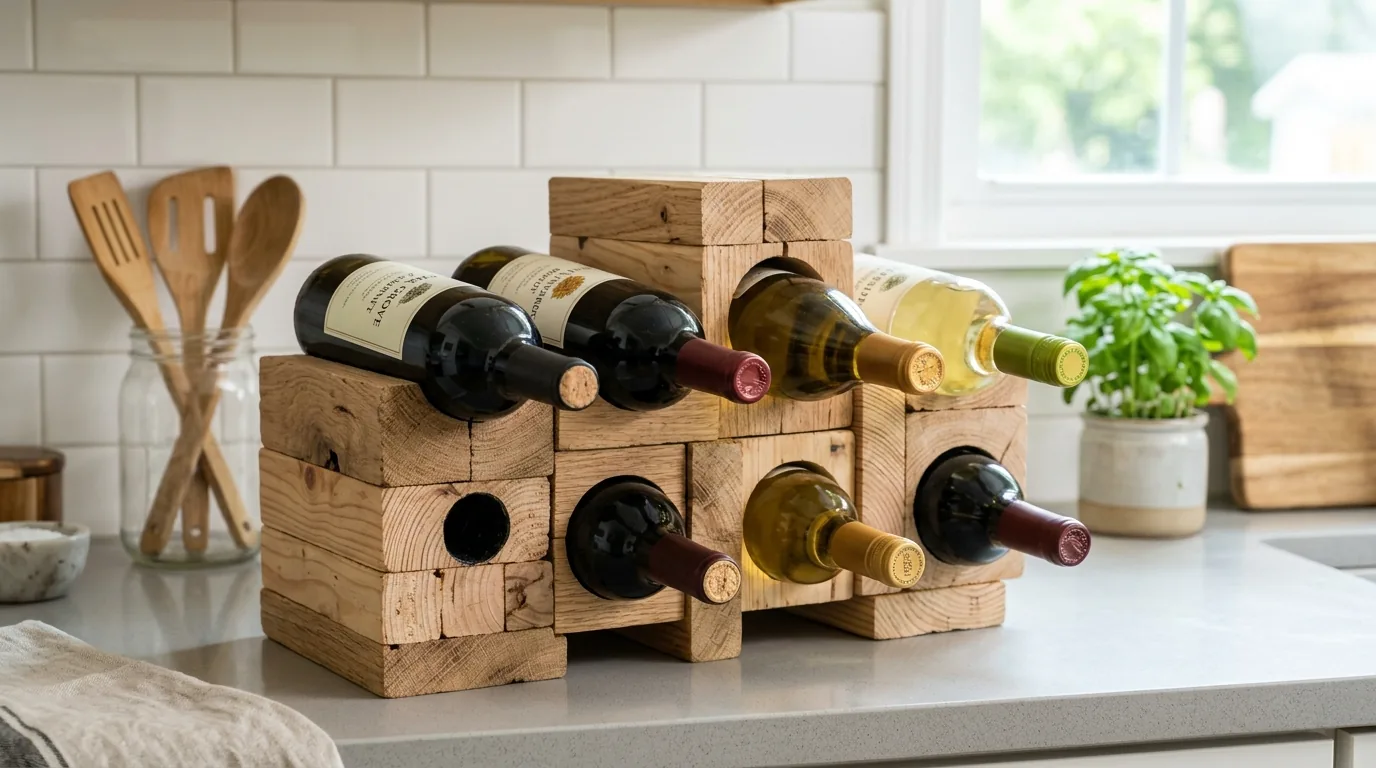
Use sturdy materials so the rack lasts
(3/11) “Use sturdy materials so the rack lasts”: decide what the space needs to do first, then style around that priority. Make one decision “the rule” for this area, then repeat it so the room reads as intentional. Keep glassware grouped by type so hosting feels effortless.
Plan bottle spacing so it feels easy to use
(4/11) “Plan bottle spacing so it feels easy to use”: decide what the space needs to do first, then style around that priority. Make one decision “the rule” for this area, then repeat it so the room reads as intentional. Keep glassware grouped by type so hosting feels effortless.
Sand and finish wood for a clean look
(5/11) “Sand and finish wood for a clean look”: decide what the space needs to do first, then style around that priority. Make one decision “the rule” for this area, then repeat it so the room reads as intentional. Keep glassware grouped by type so hosting feels effortless.
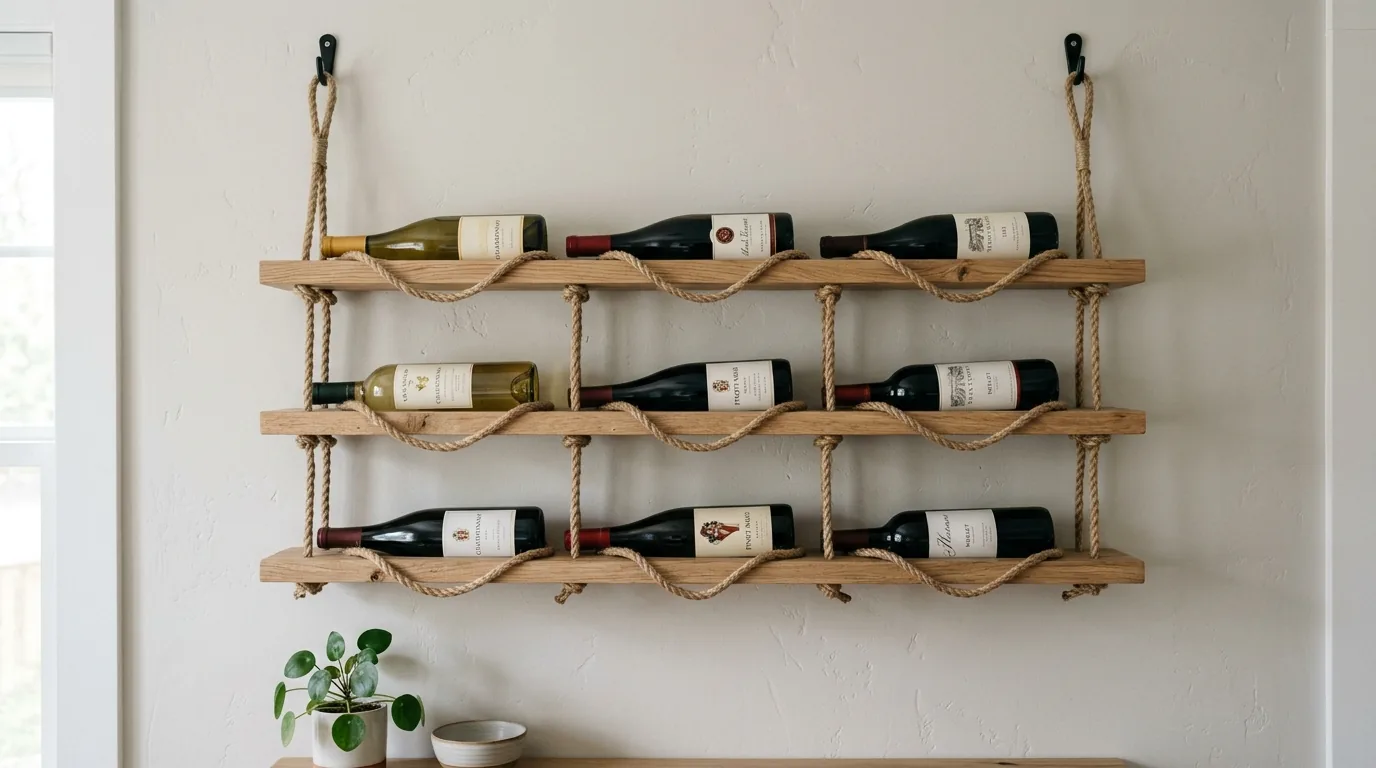
Mount safely so the project feels secure
(6/11) “Mount safely so the project feels secure”: start with the smallest version of the change first, then scale up. Store bottles on their side in a stable, shaded spot. Start with the constraint you feel most (space, light, or budget), then adjust one variable at a time.
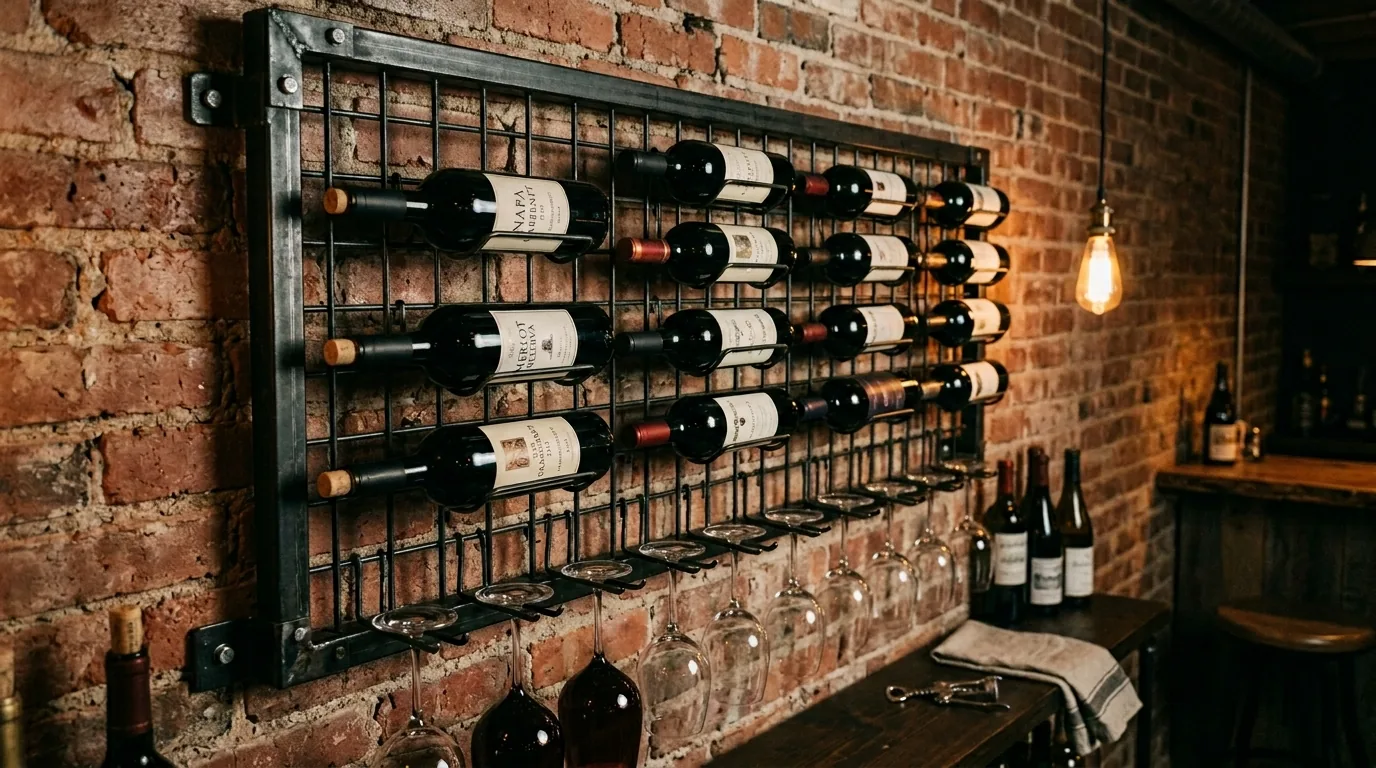
Use wall space to keep floors clear
(7/11) “Use wall space to keep floors clear”: focus on scale and placement before you pick finishes. Treat this as a quick win: a small change that makes daily use noticeably easier. Avoid wobble-anchor racks to a stud if the load is heavy.
Add a small label system if you want order
(8/11) “Add a small label system if you want order”: focus on scale and placement before you pick finishes. Treat this as a quick win: a small change that makes daily use noticeably easier. Avoid wobble-anchor racks to a stud if the load is heavy.
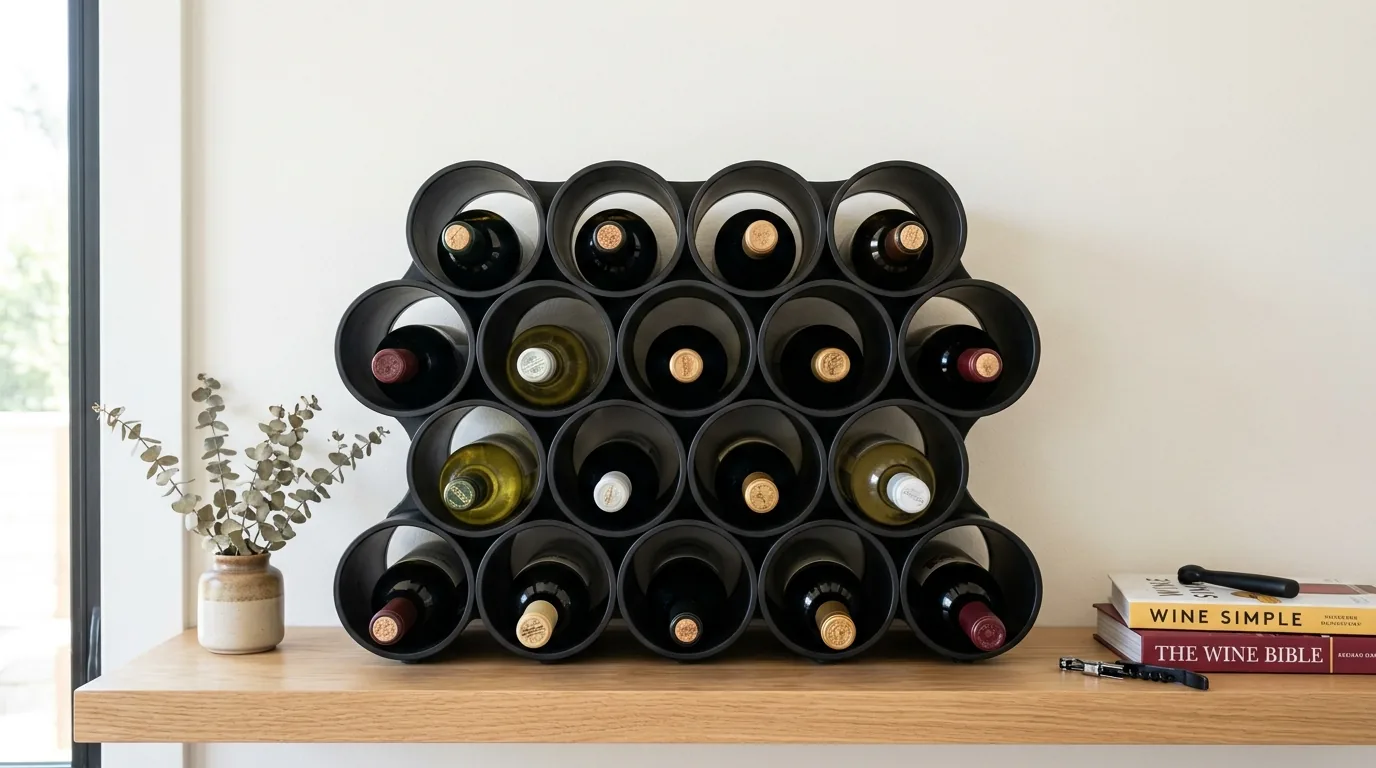
Keep the design minimal for a modern result
(9/11) “Keep the design minimal for a modern result”: focus on scale and placement before you pick finishes. Treat this as a quick win: a small change that makes daily use noticeably easier. Avoid wobble-anchor racks to a stud if the load is heavy.
Use stain color to match your home palette
(10/11) “Use stain color to match your home palette”: start with the smallest version of the change first, then scale up. Store bottles on their side in a stable, shaded spot. Start with the constraint you feel most (space, light, or budget), then adjust one variable at a time.
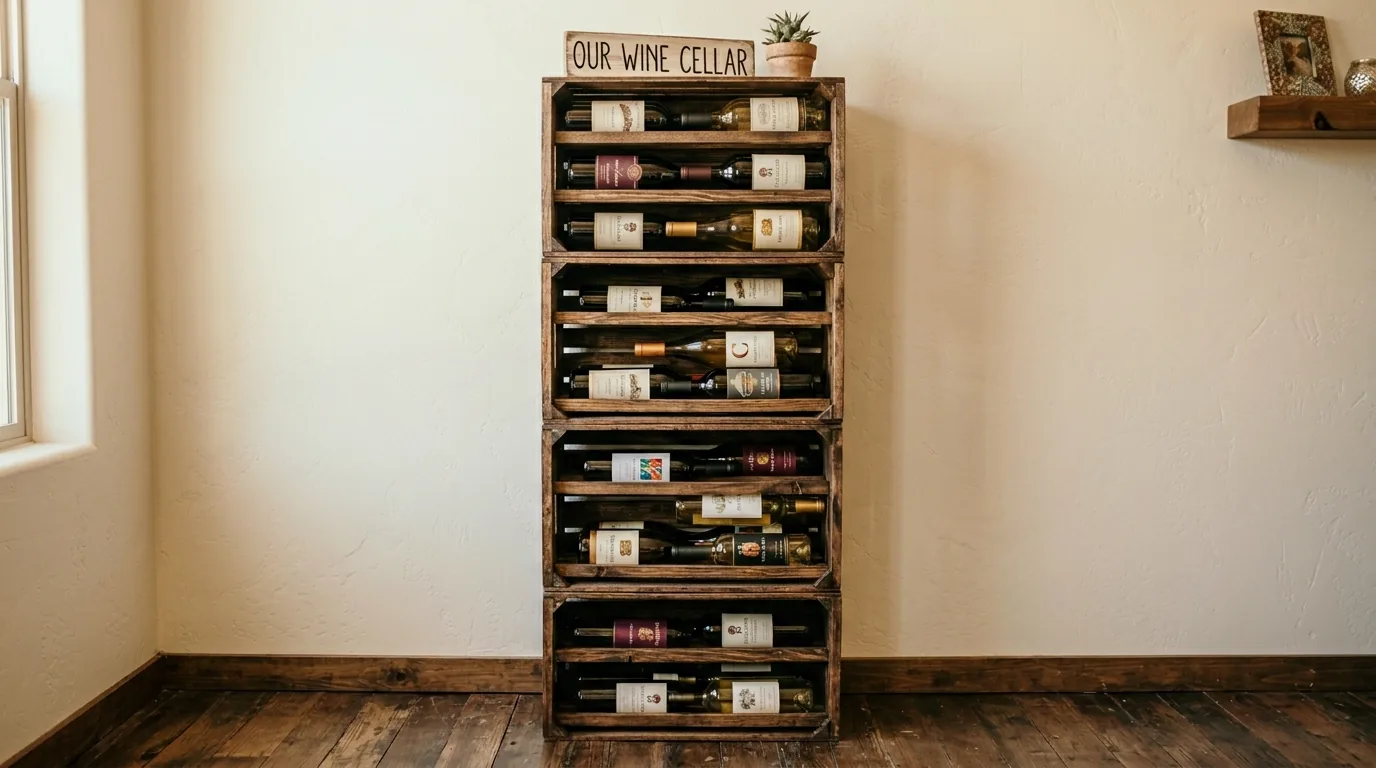
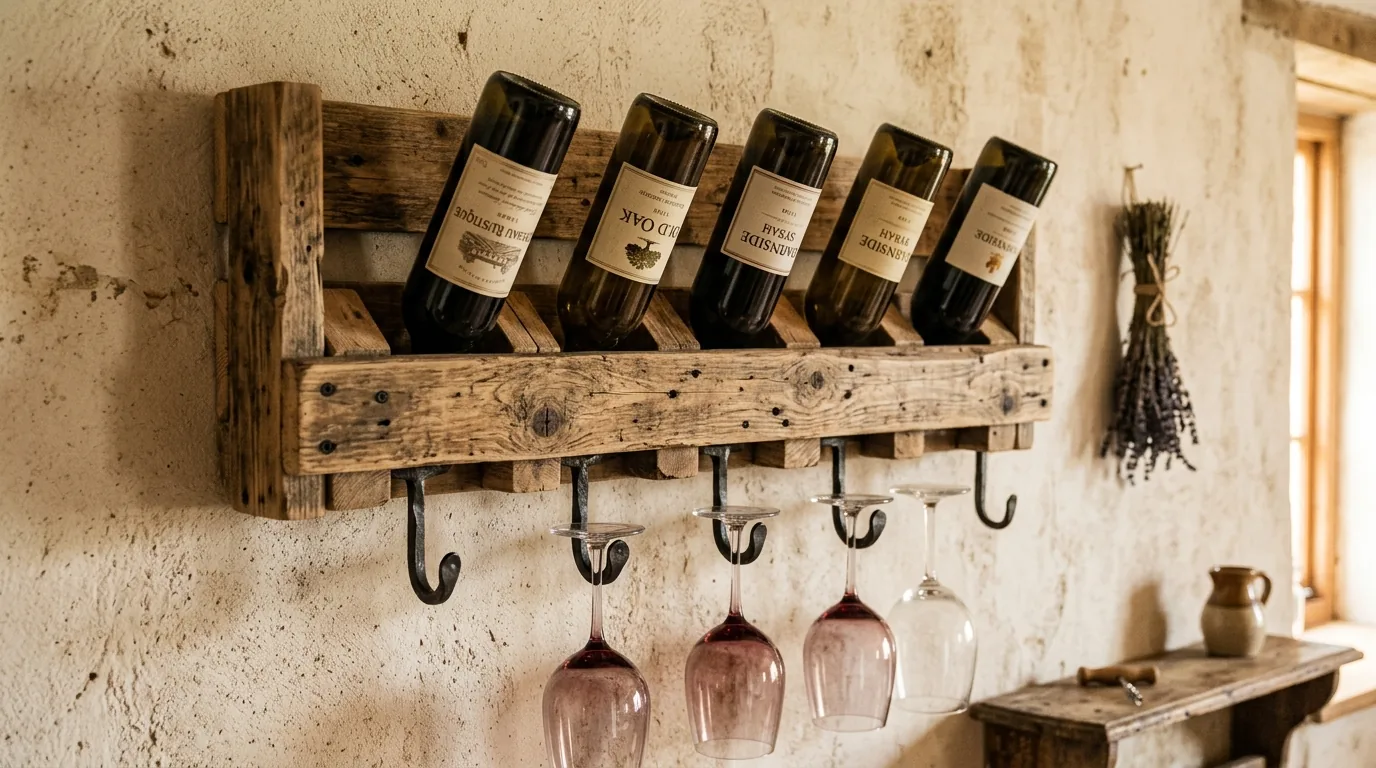
Add a top shelf for glasses or accessories
(11/11) “Add a top shelf for glasses or accessories”: start with the smallest version of the change first, then scale up. Store bottles on their side in a stable, shaded spot. Start with the constraint you feel most (space, light, or budget), then adjust one variable at a time.