Here is a curated approach to 12 Clever Privacy Wall Ideas for a Secluded Backyard Oasis with layout choices, materials, and finishes you can apply without overthinking the process.
Pick two ideas to start, apply them, and then build from there once the space feels stable. Inhabitle is here to help you build a home that feels calm and considered, starting with the details that matter. For “12 Clever Privacy Wall Ideas for a Secluded Backyard Oasis”, start by fixing lighting and scale before you buy anything new.
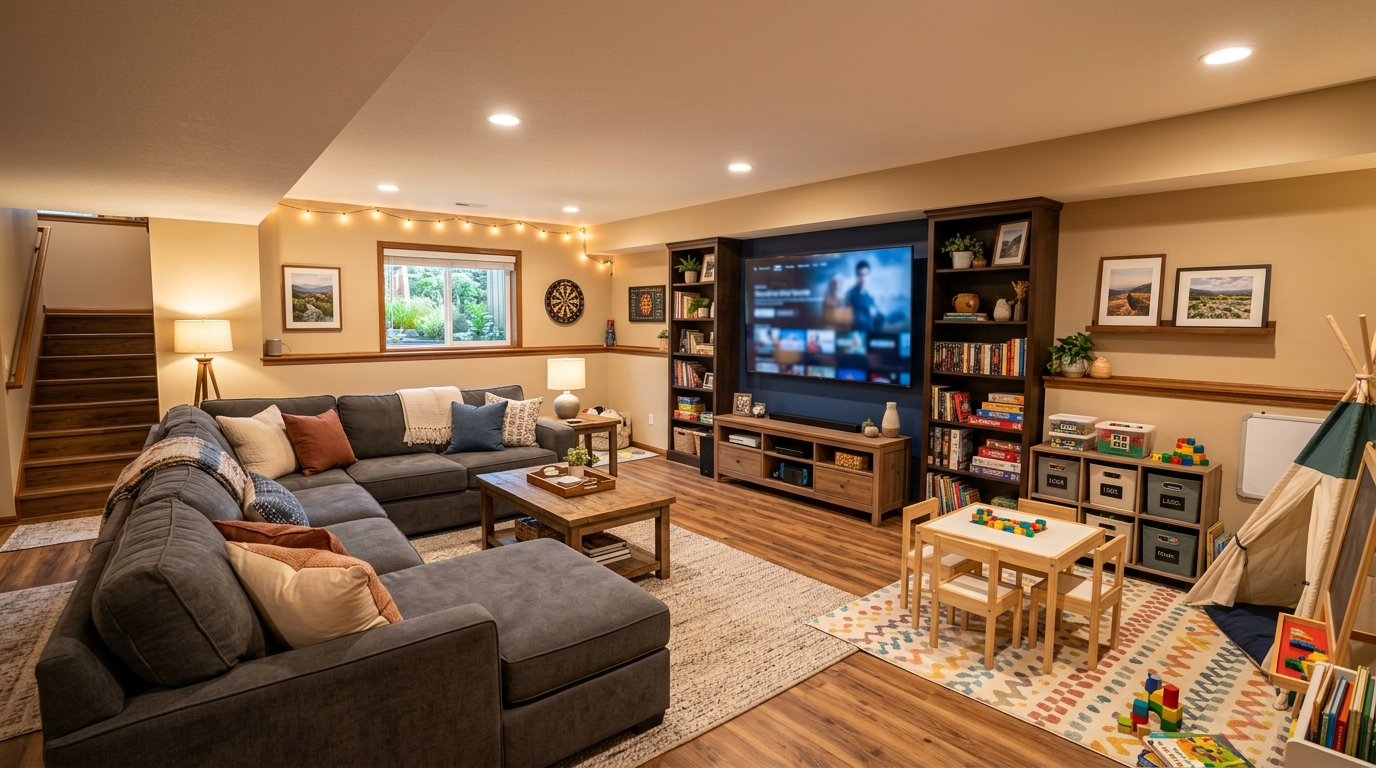
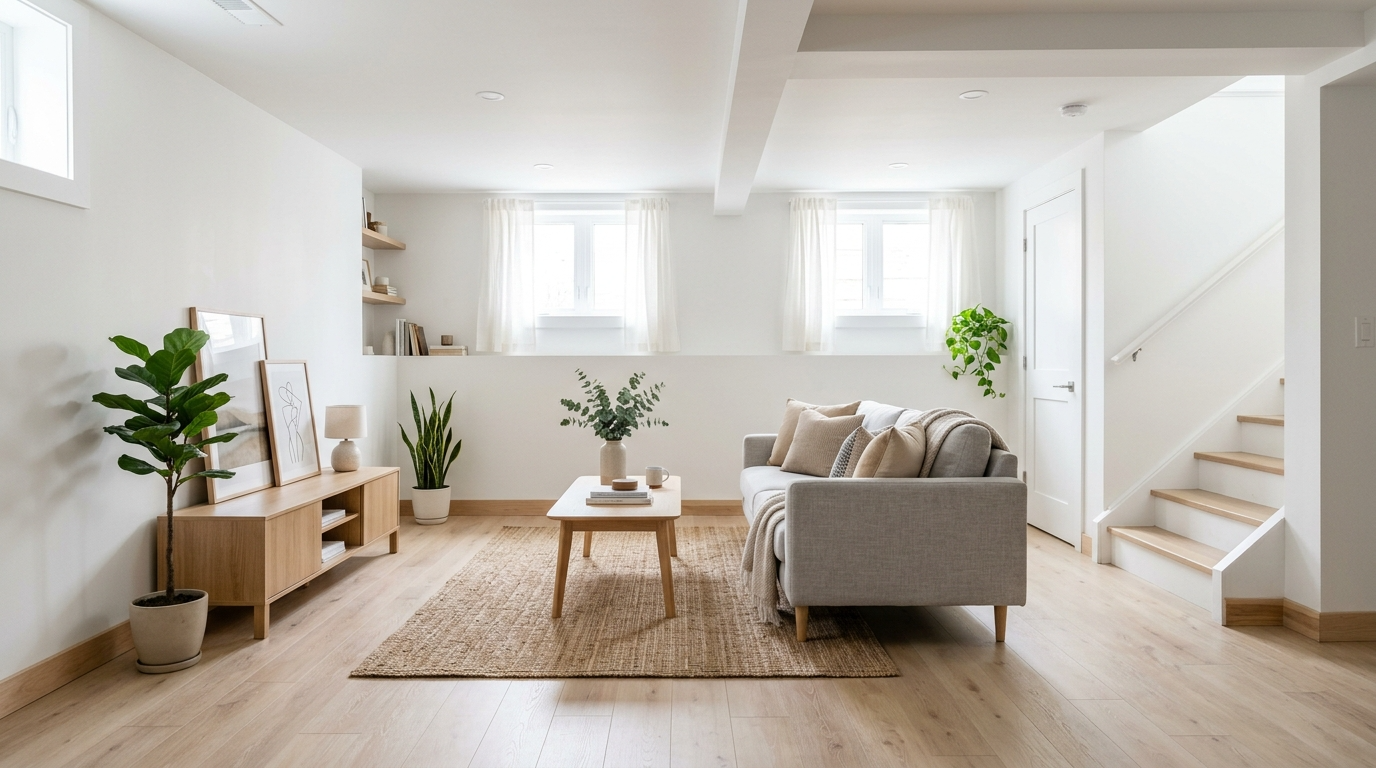
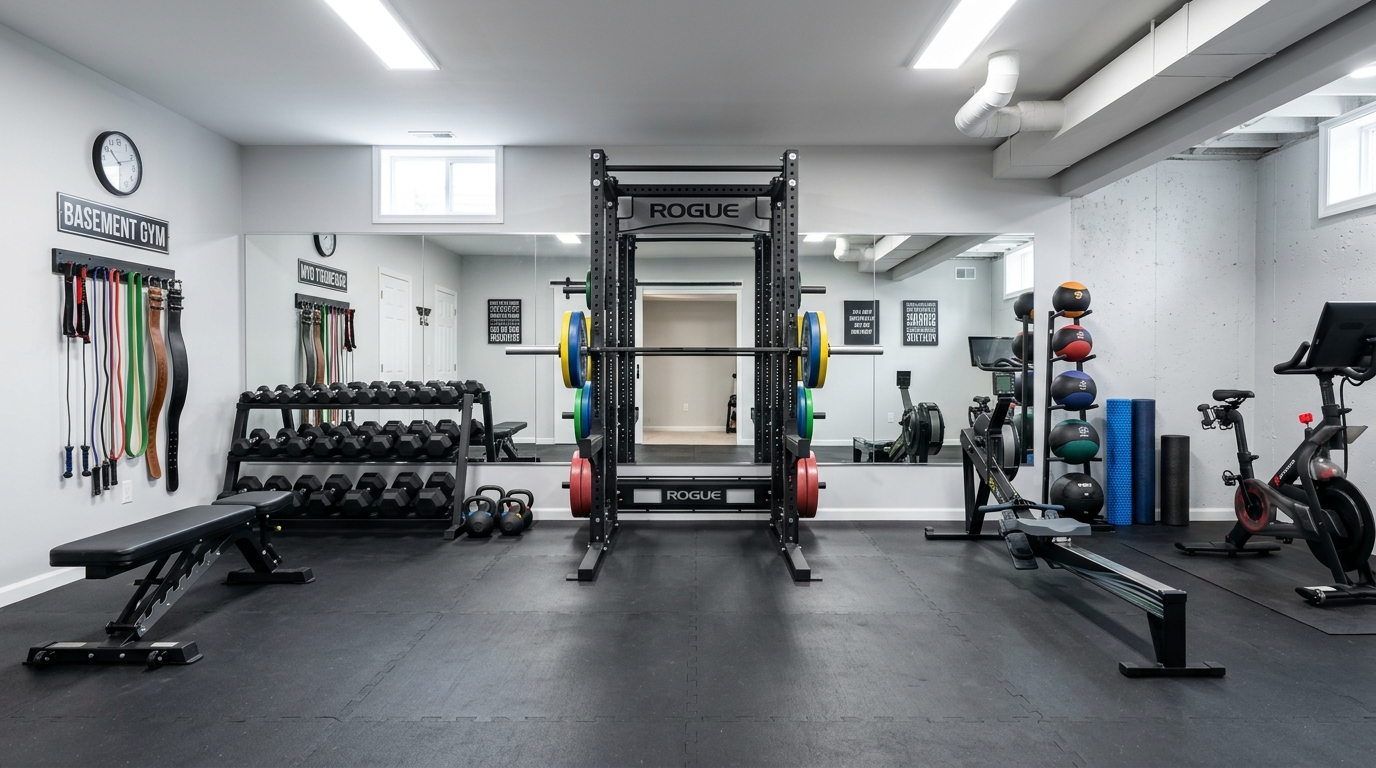
Simplify counter for a cleaner look (Clever Privacy Wall Ideas) #1
(1/14) “Simplify counter for a cleaner look (Clever Privacy Wall Ideas) #1”: keep the goal simple-improve function first, then let the look follow. Add lighting directly over the work zone, not behind you. Aim for fewer competing elements: one hero choice, then supportive basics.

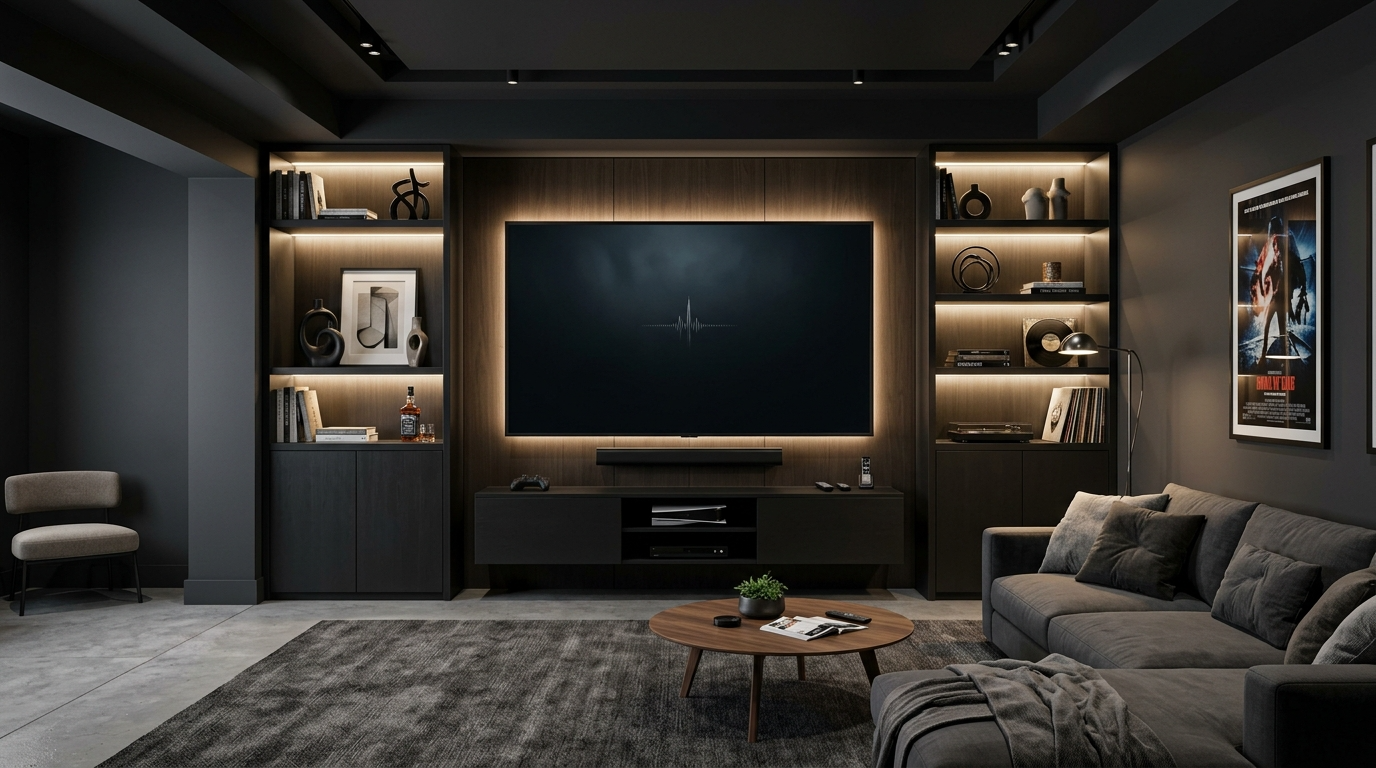
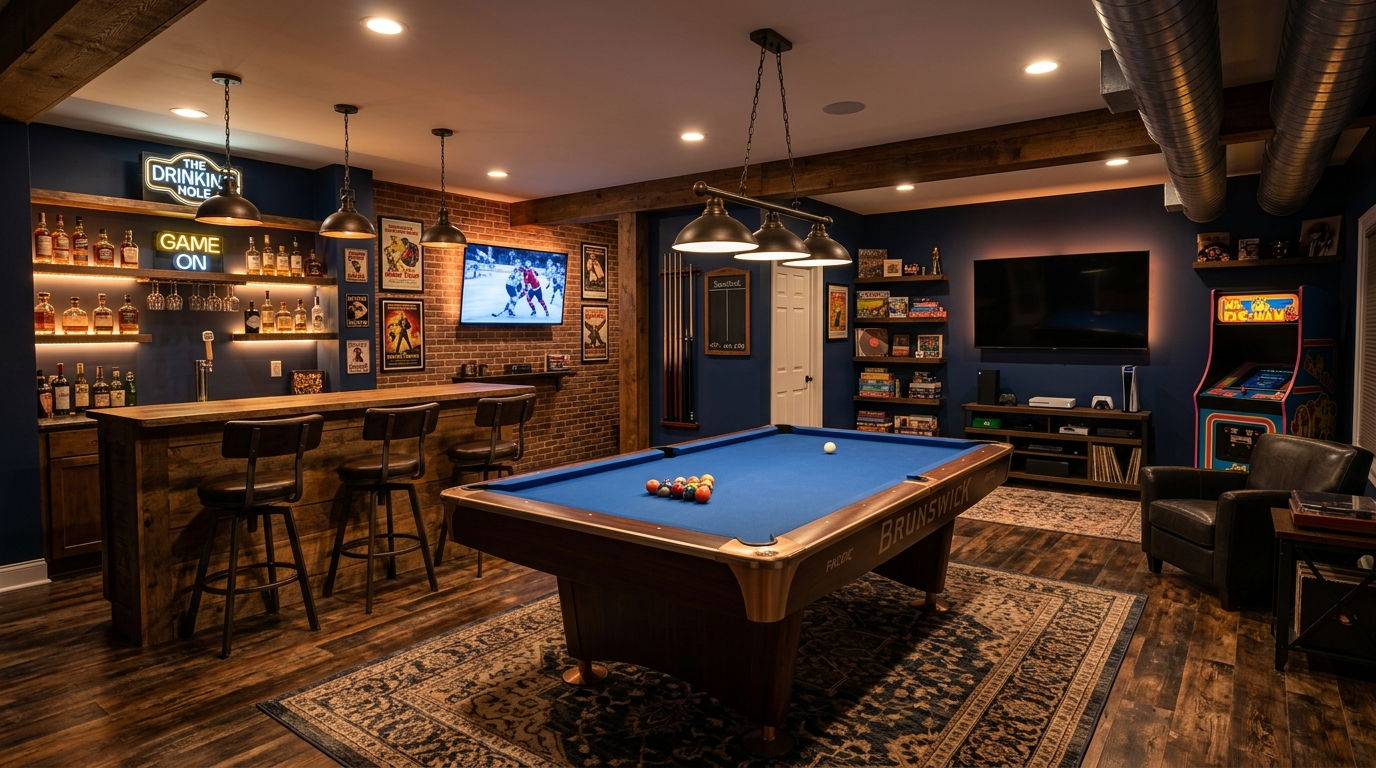
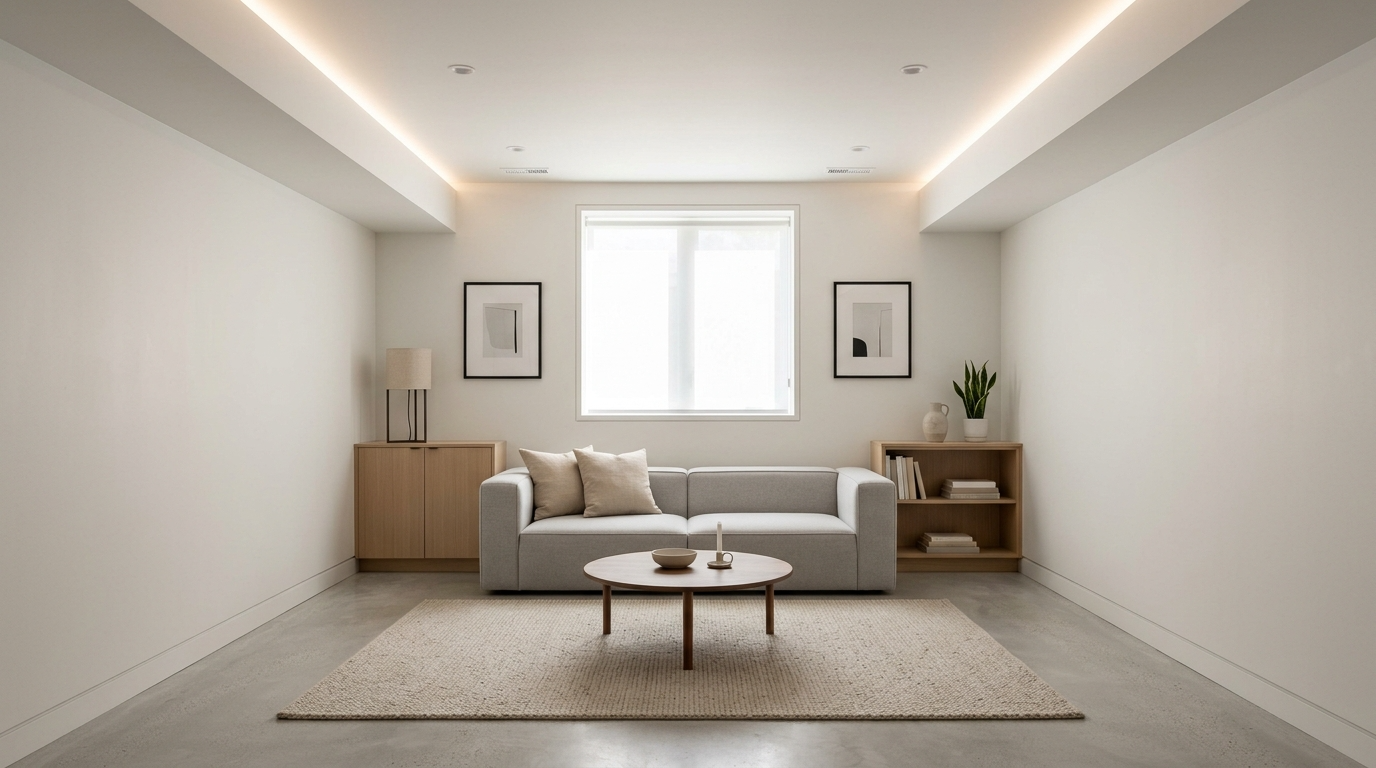
Swap counter for a cleaner look (Clever Privacy Wall Ideas) #2
(2/14) “Swap counter for a cleaner look (Clever Privacy Wall Ideas) #2”: start with the smallest version of the change first, then scale up. Group tools by task so prep feels faster and less messy. Start with the constraint you feel most (space, light, or budget), then adjust one variable at a time.
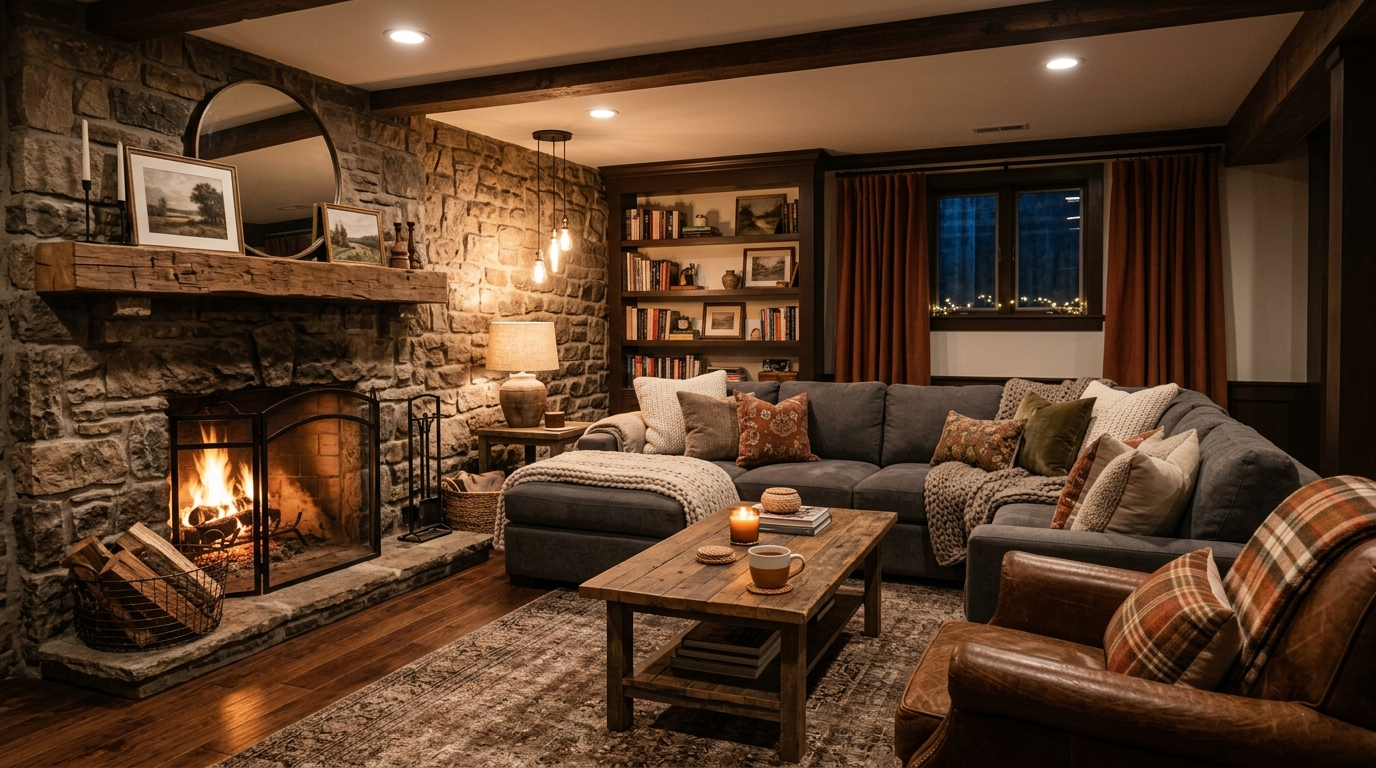
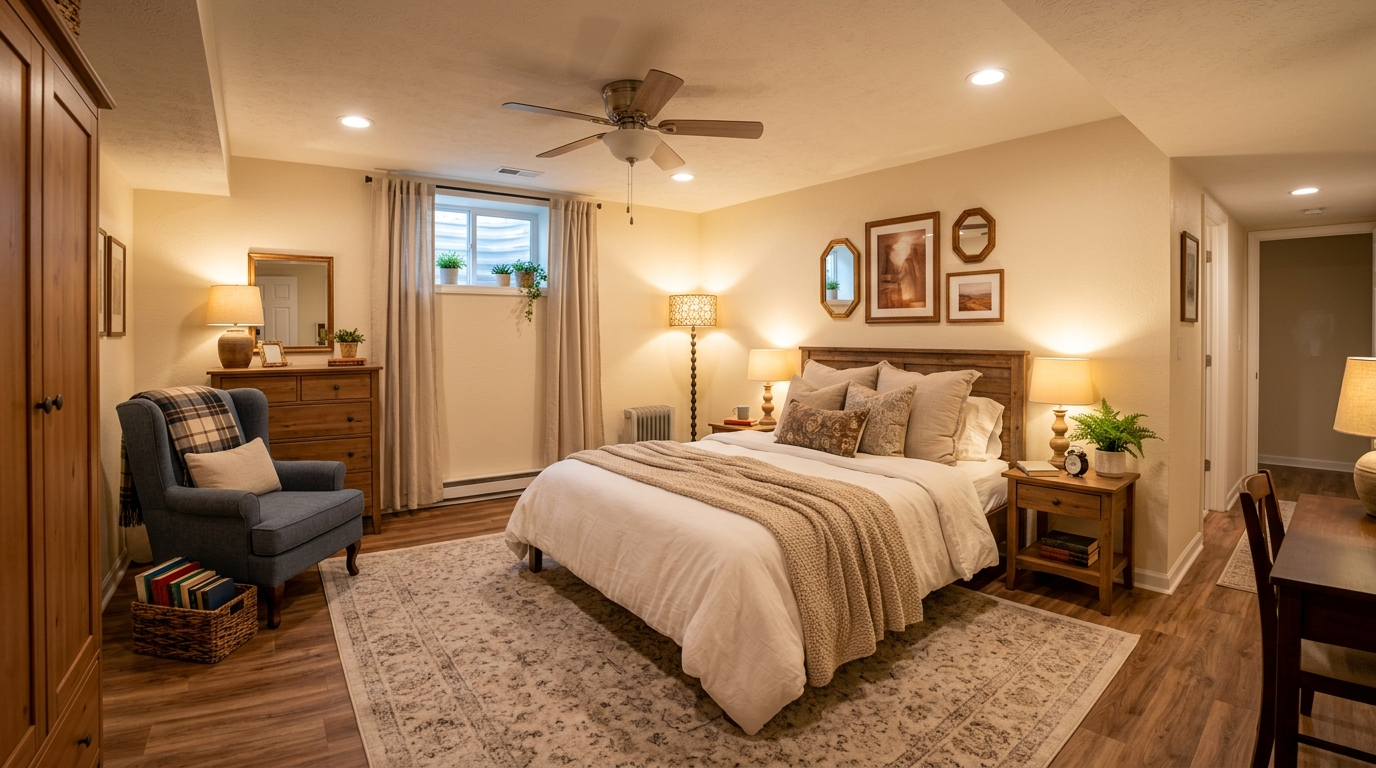
Swap counter for a cleaner look (Clever Privacy Wall Ideas) #3
(3/14) “Swap counter for a cleaner look (Clever Privacy Wall Ideas) #3”: keep the goal simple-improve function first, then let the look follow. Add lighting directly over the work zone, not behind you. Aim for fewer competing elements: one hero choice, then supportive basics.
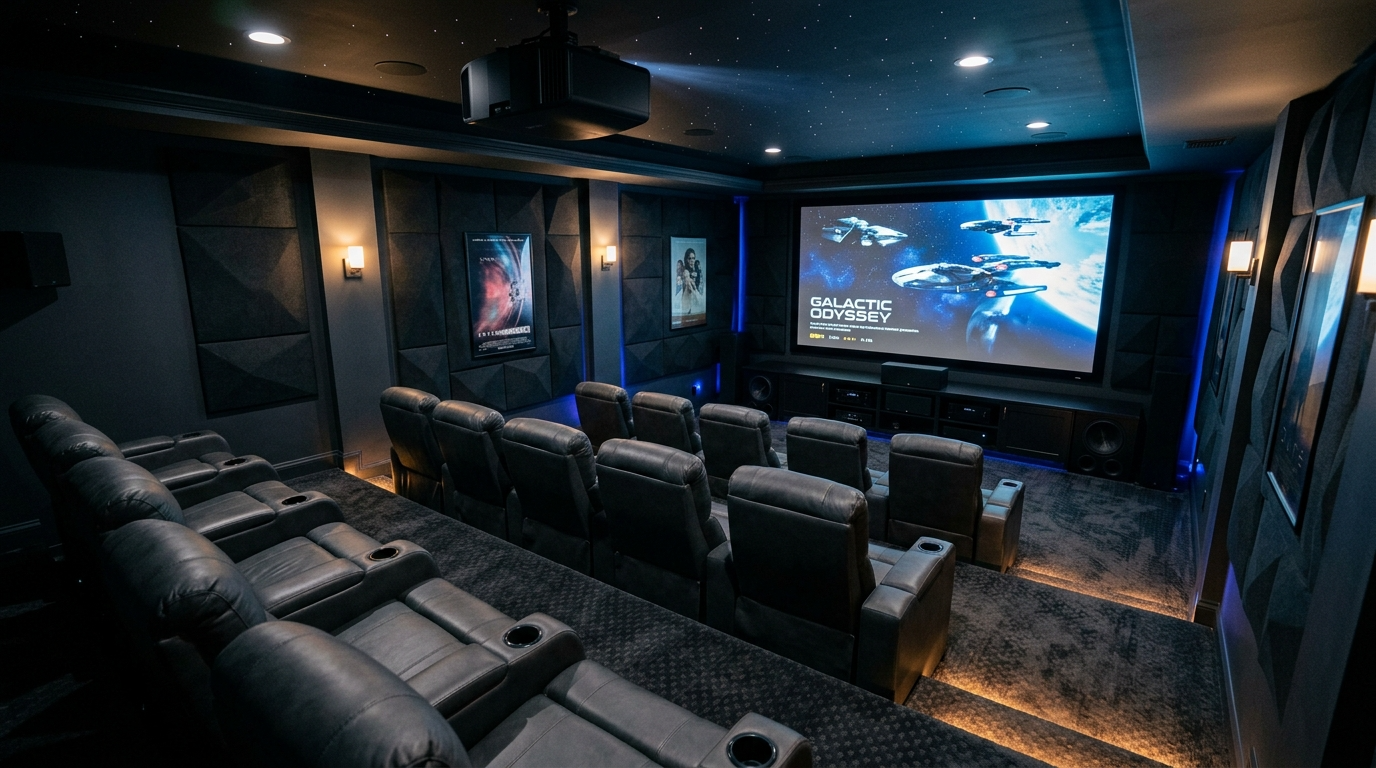
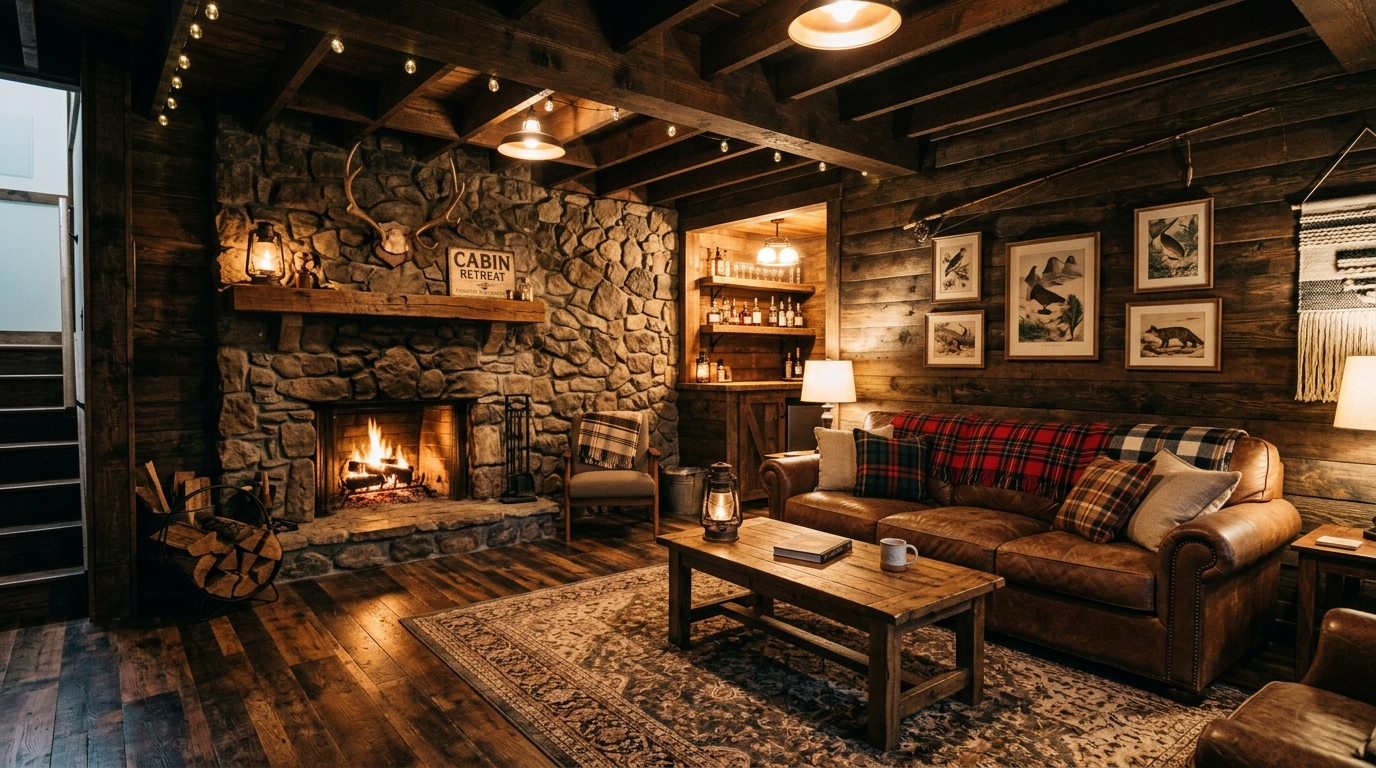
Simplify layout for better balance (Clever Privacy Wall Ideas) #4
(4/14) “Simplify layout for better balance (Clever Privacy Wall Ideas) #4”: keep the goal simple-improve function first, then let the look follow. Add lighting directly over the work zone, not behind you. Aim for fewer competing elements: one hero choice, then supportive basics.
Balance counter for a cleaner look (Clever Privacy Wall Ideas) #5
(5/14) “Balance counter for a cleaner look (Clever Privacy Wall Ideas) #5”: decide what the space needs to do first, then style around that priority. Make one decision “the rule” for this area, then repeat it so the room reads as intentional. Use closed storage for the visual clutter items first.
Swap counter for a cleaner look (Clever Privacy Wall Ideas) #6
(6/14) “Swap counter for a cleaner look (Clever Privacy Wall Ideas) #6”: start with the smallest version of the change first, then scale up. Group tools by task so prep feels faster and less messy. Start with the constraint you feel most (space, light, or budget), then adjust one variable at a time.
Refine island to add warmth (Clever Privacy Wall Ideas) #7
(7/14) “Refine island to add warmth (Clever Privacy Wall Ideas) #7”: focus on scale and placement before you pick finishes. Treat this as a quick win: a small change that makes daily use noticeably easier. Choose materials that tolerate heat, spills, and daily wiping.

Balance island to add warmth (Clever Privacy Wall Ideas) #8
(8/14) “Balance island to add warmth (Clever Privacy Wall Ideas) #8”: keep the goal simple-improve function first, then let the look follow. Add lighting directly over the work zone, not behind you. Aim for fewer competing elements: one hero choice, then supportive basics.

Balance counter for a cleaner look (Clever Privacy Wall Ideas) #9
(9/14) “Balance counter for a cleaner look (Clever Privacy Wall Ideas) #9”: decide what the space needs to do first, then style around that priority. Make one decision “the rule” for this area, then repeat it so the room reads as intentional. Use closed storage for the visual clutter items first.
Simplify counter for a cleaner look (Clever Privacy Wall Ideas) #10
(10/14) “Simplify counter for a cleaner look (Clever Privacy Wall Ideas) #10”: keep the goal simple-improve function first, then let the look follow. Add lighting directly over the work zone, not behind you. Aim for fewer competing elements: one hero choice, then supportive basics.
Balance layout for better balance (Clever Privacy Wall Ideas) #11
(11/14) “Balance layout for better balance (Clever Privacy Wall Ideas) #11”: decide what the space needs to do first, then style around that priority. Make one decision “the rule” for this area, then repeat it so the room reads as intentional. Use closed storage for the visual clutter items first.
Simplify island to add warmth (Clever Privacy Wall Ideas) #12
(12/14) “Simplify island to add warmth (Clever Privacy Wall Ideas) #12”: focus on scale and placement before you pick finishes. Treat this as a quick win: a small change that makes daily use noticeably easier. Choose materials that tolerate heat, spills, and daily wiping.

Balance counter for a cleaner look (Clever Privacy Wall Ideas) #13
(13/14) “Balance counter for a cleaner look (Clever Privacy Wall Ideas) #13”: decide what the space needs to do first, then style around that priority. Make one decision “the rule” for this area, then repeat it so the room reads as intentional. Use closed storage for the visual clutter items first.
Refine layout for better balance (Clever Privacy Wall Ideas) #14
(14/14) “Refine layout for better balance (Clever Privacy Wall Ideas) #14”: start with the smallest version of the change first, then scale up. Group tools by task so prep feels faster and less messy. Start with the constraint you feel most (space, light, or budget), then adjust one variable at a time.